Make real estate photos brighter with the right editing techniques and tools to enhance lighting, clarity, and overall appeal. From adjusting exposure to correcting white balance, small changes can dramatically improve image quality. This guide covers practical methods to elevate your property photos and attract more potential buyers. Learn how to create clean, vibrant visuals that stand out in competitive listings.
Why should you brighten property images?
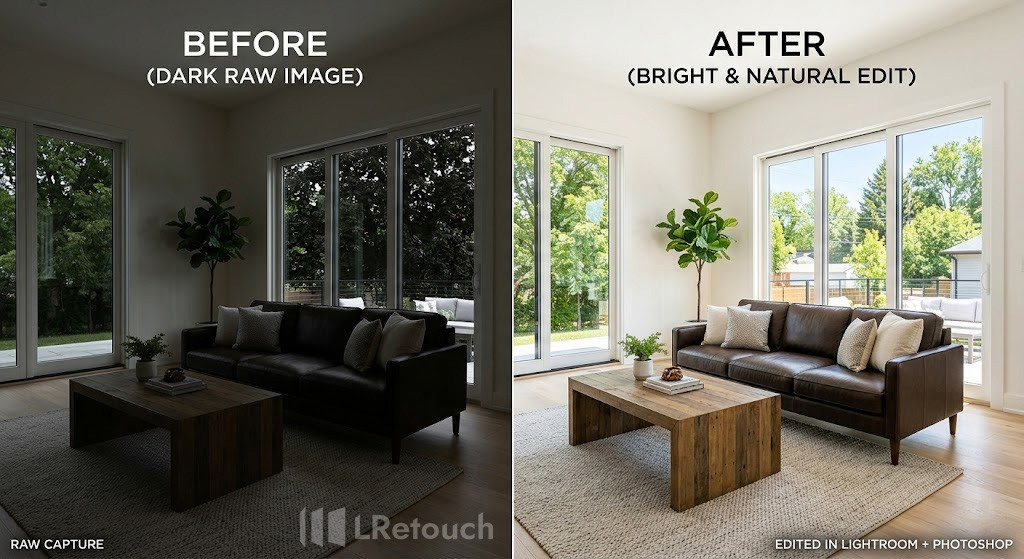
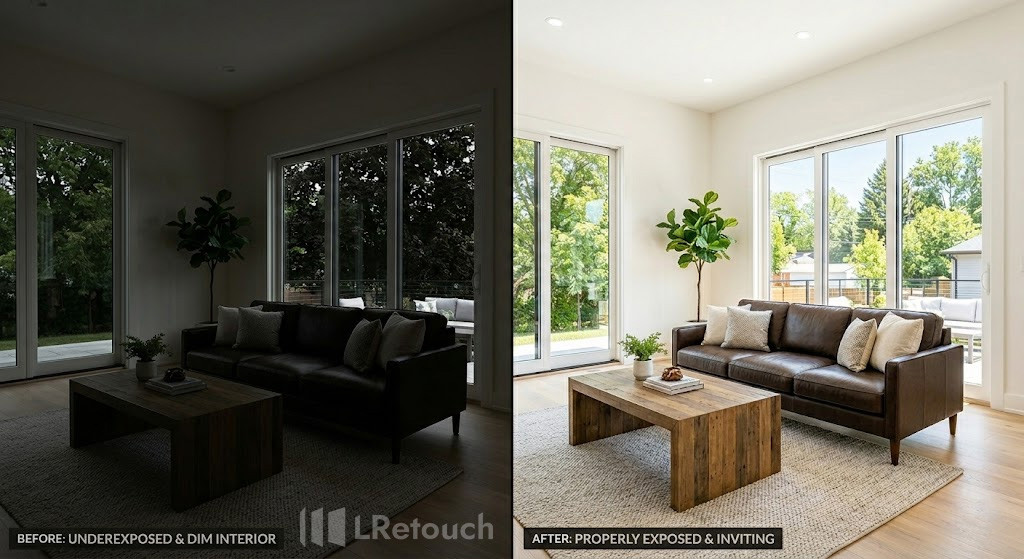
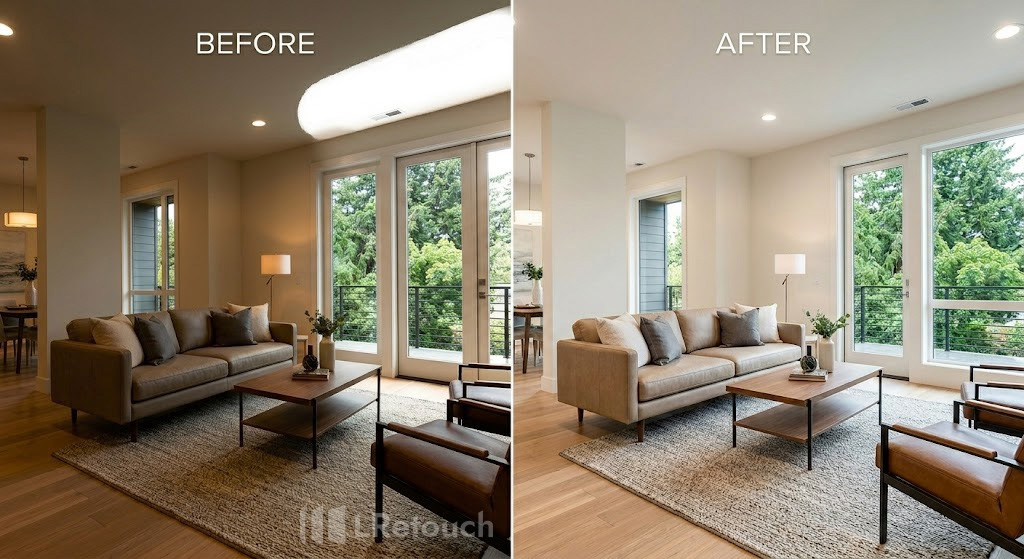
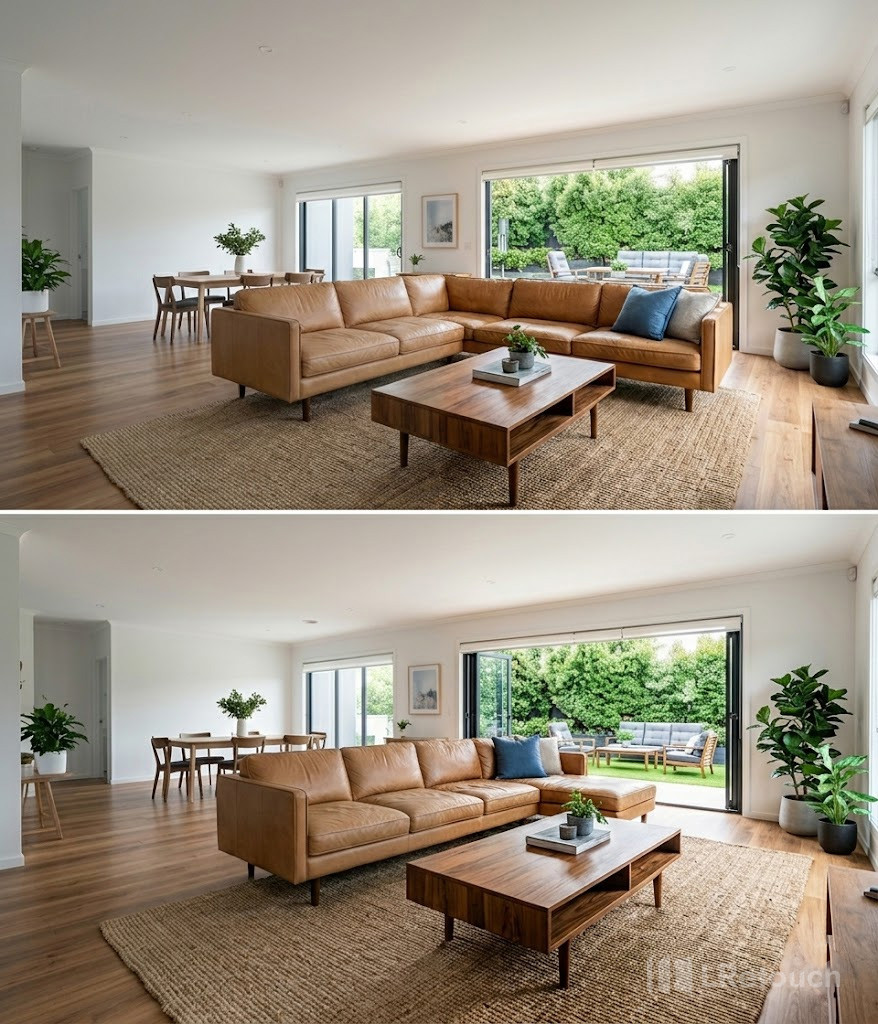
Brightening property images is not just a cosmetic adjustment—it directly impacts how a listing performs. Well-lit photos tend to attract more attention, generate higher engagement, and can ultimately help properties sell faster.
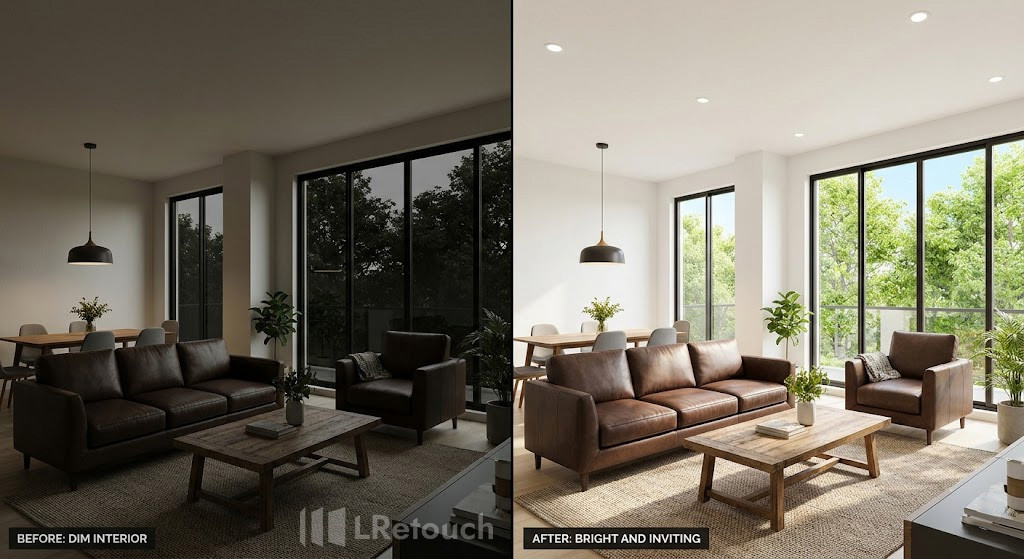
dark vs bright property images comparison
When images appear clear and naturally bright, they create a sense of transparency, reassuring potential buyers that what they see accurately reflects the space.
Proper brightness also improves how a property is perceived. Rooms look more spacious, open, and inviting when lighting is balanced correctly.
Subtle enhancements can highlight architectural features, textures, and design elements without making the image feel artificial. This visual clarity helps buyers better imagine themselves living in the home, which is a critical factor in decision-making.
At the same time, maintaining natural brightness is essential for credibility. Over-editing can lead to unrealistic colors, loss of contrast, or unnatural highlights, which may raise doubts or even violate listing standards.
The goal is to enhance the existing lighting conditions while preserving realism.
Effective real estate photo editing should refine the image, not misrepresent it—ensuring the final result is both appealing and trustworthy.
How to make real estate photos brighter?
Making property photos look brighter requires a balance of technical adjustments and visual judgment.
The goal is not just to increase brightness, but to create clean, natural-looking images that highlight the space accurately.
Below is a step-by-step process used in professional real estate editing workflows.
Step 1: Exposure and white balance
The foundation of brighter images starts with proper exposure and accurate color temperature. Begin with exposure adjustment photos to lift overall brightness without washing out details. Increase exposure gradually while monitoring highlights to avoid blown-out areas, especially near windows or light sources.
exposure adjustment real estate photo
Next, correct the white balance. Indoor photos often suffer from mixed lighting (warm tungsten and cool daylight), which can create yellow or blue color casts. Adjust temperature and tint to achieve neutral whites and realistic tones. This step ensures that brightness looks natural rather than artificial.
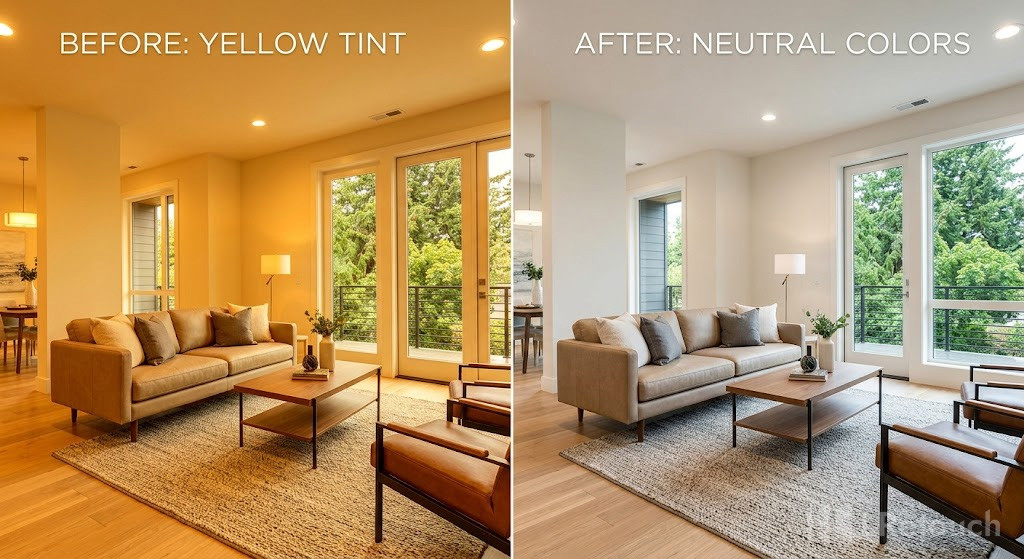
white balance correction real estate photo
Step 2: Use shadows and highlights
Instead of relying solely on exposure, fine-tune shadows and highlights for better tonal balance. Increase shadow levels to recover details in darker areas like corners or under furniture. At the same time, reduce highlights to preserve details in bright spots such as windows or reflective surfaces.
shadows highlights adjustment real estate photo
This approach creates a more evenly lit image while maintaining depth. It prevents the flat, overexposed look that often results from pushing exposure too far.
Step 3: Use curves
Curves provide more advanced control over brightness and contrast. By applying a gentle S-curve, you can subtly brighten midtones while preserving both shadows and highlights. This technique enhances overall luminosity without sacrificing detail.
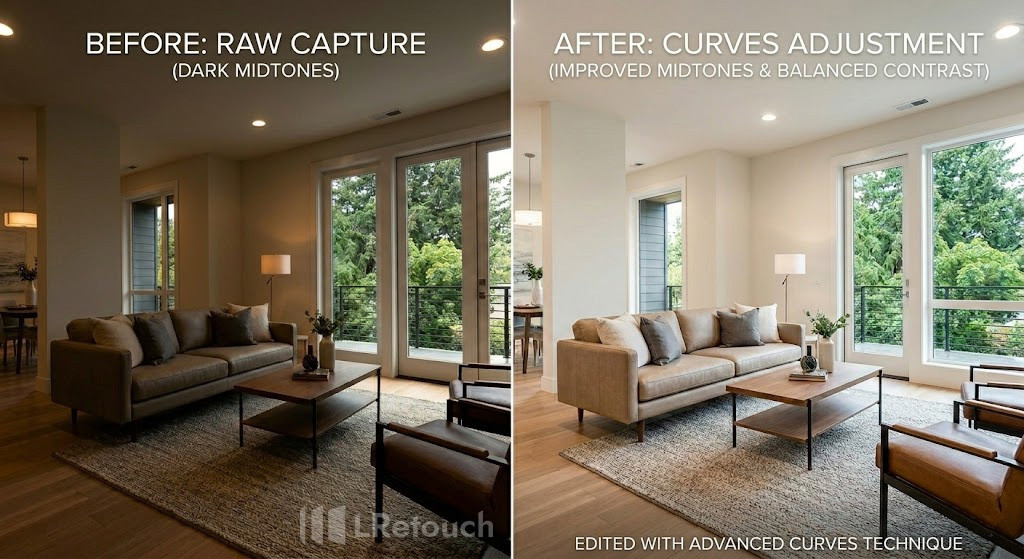
curves adjustment real estate photo brightness
Focus on lifting the midtone region slightly, as this is where most of the visual information in property photos resides. Avoid aggressive curve adjustments, as they can quickly lead to unnatural contrast or clipped tones.
Step 4: Brighten local areas
Global adjustments alone are rarely enough. To achieve professional results, you need to target specific parts of the image. Use local tools like adjustment brushes or radial filters to enhance darker zones selectively.
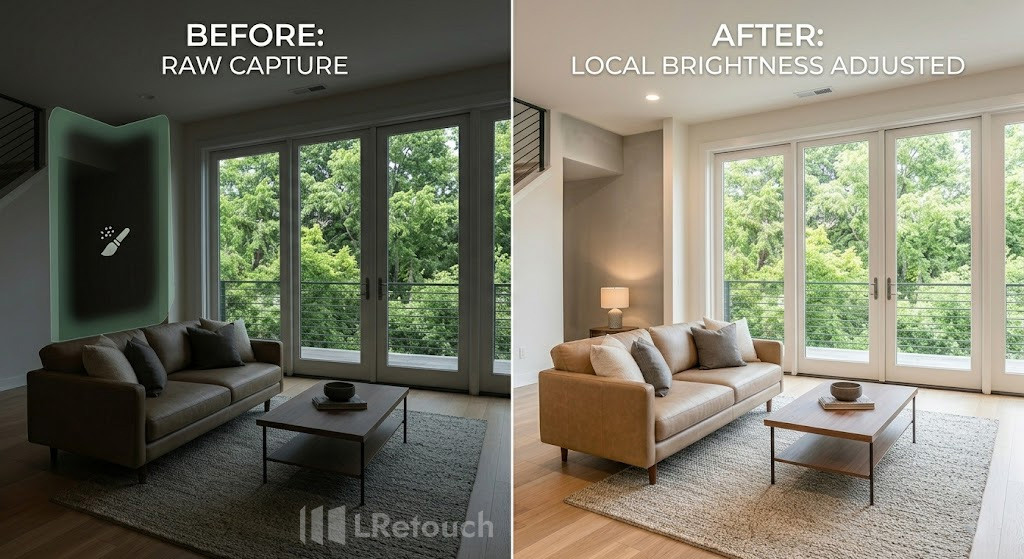
local brightness adjustment real estate photo
For example, brighten interior corners, hallways, or areas blocked by furniture. This is where lighting correction real estate techniques become essential—balancing uneven lighting across the frame. Selective edits also help improve image brightness without affecting already well-lit areas, keeping the overall image consistent and realistic.
Step 5: Use contrast and clarity
Once brightness is balanced, refine the image with contrast and clarity. Moderate contrast helps define edges and adds depth, making the space feel more structured and visually appealing. Clarity enhances midtone contrast, bringing out textures in walls, floors, and furnishings.
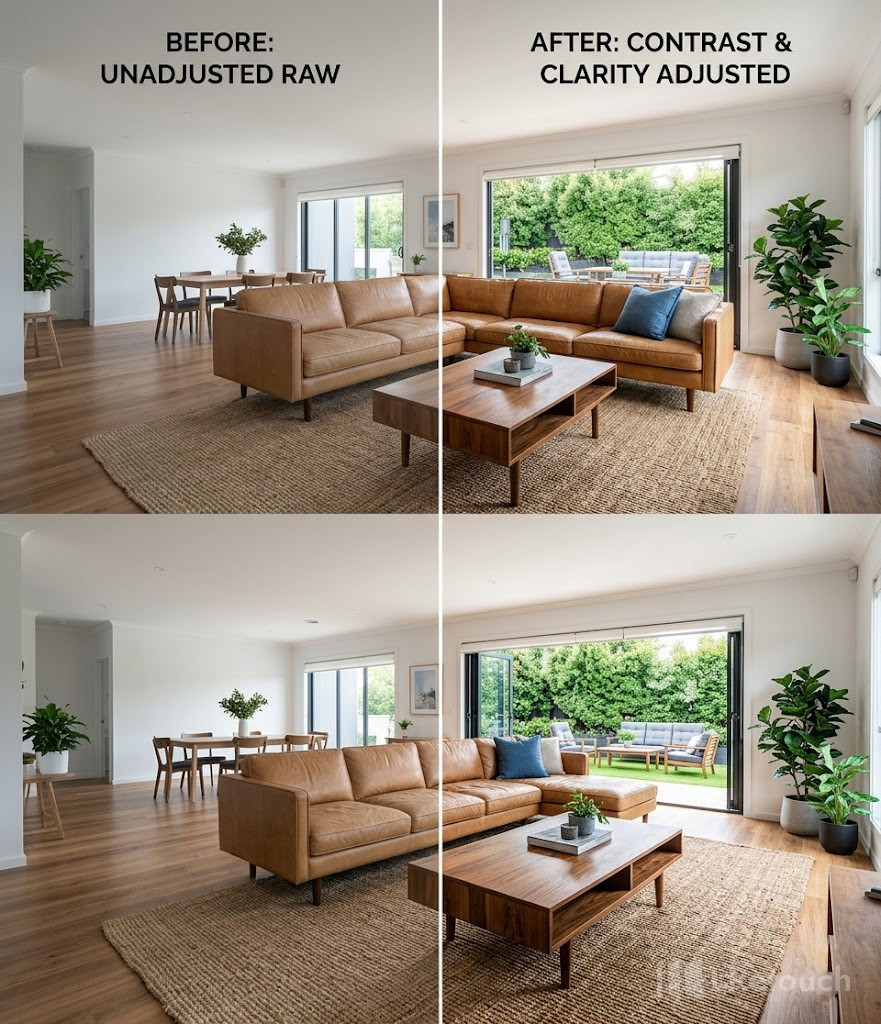
contrast and clarity real estate photo editing
This step is especially useful when you need to fix dark real estate photos that appear dull or flat. However, avoid overusing clarity, as it can introduce harsh textures and reduce the natural softness expected in interior photography.
Step 6: Maintain natural colors
The final step is ensuring color accuracy. Brightening an image can sometimes distort colors, making them appear oversaturated or unrealistic. Adjust vibrance and saturation carefully to keep tones balanced.
Pay close attention to whites, as they should remain neutral rather than tinted. Wood textures, wall paint, and fabrics should also reflect their real-life appearance. Natural colors reinforce trust and make the property feel authentic to potential buyers.
natural color real estate photo editing
To make property photos look brighter, it’s not enough to simply increase light levels. You need to control how light interacts with every element in the image. By combining precise exposure adjustments, tonal balancing, and targeted local edits, you can create visuals that are both accurate and visually compelling.
When applied correctly, these techniques enhance spatial perception, boost engagement, and present the property in a polished yet realistic way.
Common property photo mistakes
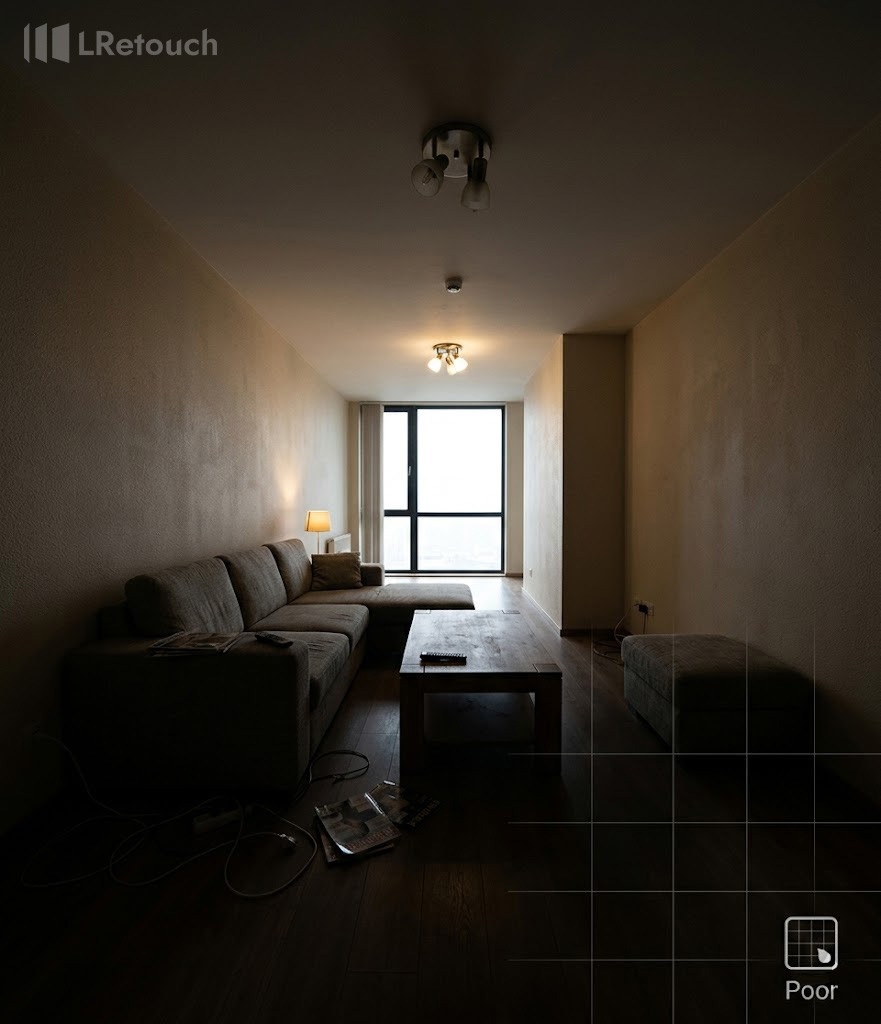
bad lighting real estate photo example
Capturing bright, high-quality property images starts at the shooting stage. Many real estate photography mistakes happen before editing even begins, making it harder to achieve clean, well-lit results later. Here are the most common issues, along with practical photo enhancement tips to avoid them:
- Shooting in poor natural lighting conditions: Taking photos too early, too late, or on very dark days limits available light. Shoot during daytime (preferably mid-morning or early afternoon) to maximize natural brightness.
- Not turning on interior lights: Relying only on natural light can create uneven exposure. Turn on all indoor lights to fill shadows and create a more balanced, inviting atmosphere.
- Improper camera settings: Using low ISO, fast shutter speed, or incorrect aperture can result in dark images. Adjust settings properly or use bracketing to capture multiple exposures for better brightness control.
- Facing windows directly without compensation: Shooting toward windows often causes interiors to appear too dark. Balance exposure by slightly underexposing for highlights or using HDR techniques.
- Ignoring shadows and dark corners: Poor positioning can leave parts of the room underlit. Change angles or add supplemental lighting to reduce heavy shadows.
- Handheld shooting in low light: Without a tripod, slower shutter speeds can cause blur or force underexposed shots. Use a tripod to stabilize the camera and allow more light into the image.
- Clutter blocking light sources: Furniture or objects blocking windows can reduce brightness. Rearrange the space to let natural light flow freely.
- Not cleaning reflective surfaces: Dirty windows, mirrors, or glossy surfaces can reduce light reflection and make spaces look dull. Clean them before shooting to enhance brightness naturally.
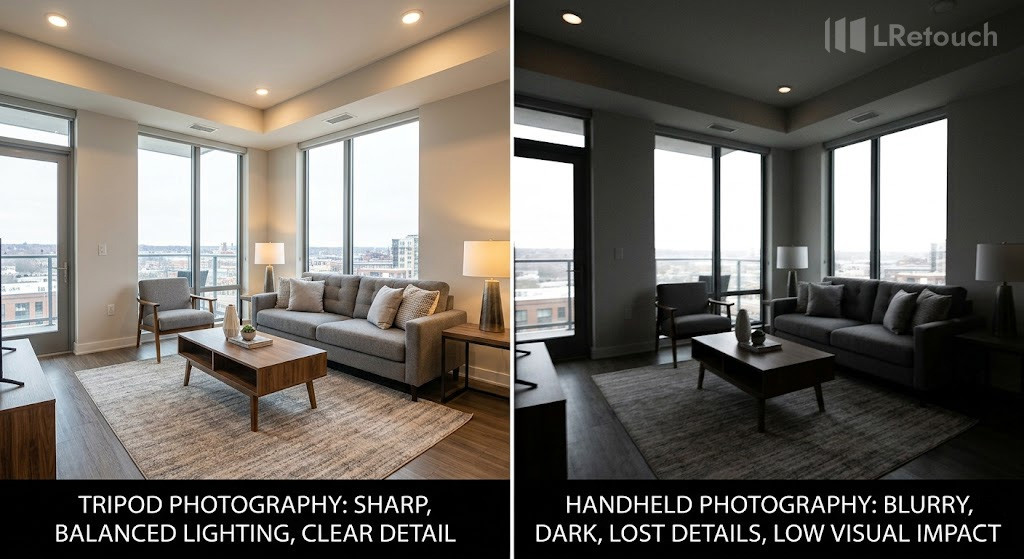
tripod vs handheld real estate photography brightness difference
By avoiding these mistakes during the shoot, you reduce the need for heavy editing and make it much easier to produce bright, professional-looking property photos.
The bottom line
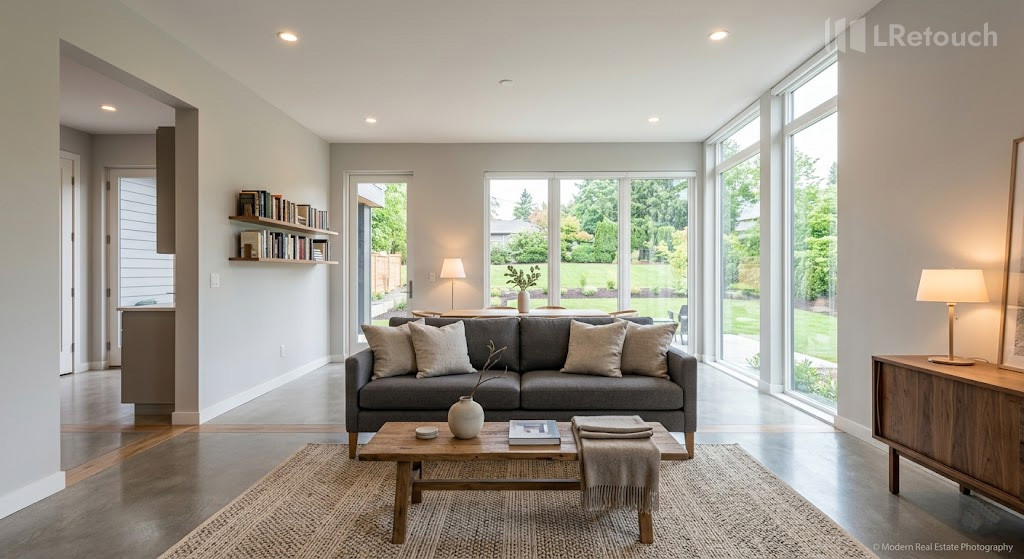
professional bright real estate photo final result
Brighter property images can make listings more appealing, build buyer trust, and help homes stand out in a crowded market. With the right editing approach, you can enhance lighting, preserve natural colors, and create polished visuals that attract more attention. Use these techniques consistently to make real estate photos brighter.