How to choose the best real estate photo editing tools?
Choosing the right software is critical if you want fast workflows and professional results. With so many options available, focusing on practical criteria will help you find the best photo editing apps for your needs.
1. Efficiency and Batch Processing
Real estate photography often involves 20 to 40 images per property. Editing each file one by one quickly becomes inefficient.
Look for real estate photo editing tools that support batch processing, allowing you to apply adjustments to multiple images at once. This feature alone can save hours every week and is essential for high-volume work.
2. Specialized Property Features
Not all editing tools are built for property photography. The best options include features tailored to this niche. Prioritize software with HDR editing tools, as they help balance bright windows and darker interiors.
Other useful features include perspective correction, sky replacement, and window pull adjustments. These tools ensure your photos look natural while highlighting the property’s best features.
3. Ease of Use vs. Advanced Capabilities
Some tools are easy to use but lack advanced features, while others offer strong capabilities but are harder to learn. The best option strikes a balance between simplicity and performance.
You want software that is easy to learn but still capable of handling advanced edits for high-end listings.
A steep learning curve can slow you down, especially when working under tight deadlines.
4. Cost and Overall Value
Pricing matters, especially if you edit photos daily. Many of the best photo editing apps use subscription models, which can add up over time. Instead of focusing only on price, consider value.
A tool that saves significant editing time or improves image quality can justify a higher cost. Think in terms of return on investment, not just monthly fees.
5. Workflow Integration
Your editing software should integrate seamlessly with your current workflow. Make sure it supports standard file formats, works well with other tools, and offers simple export options for websites and listing platforms. A smooth workflow saves time and ensures consistent results.
The right editing tool is not just about features—it’s about speed, usability, and results. By focusing on efficiency, real estate-specific functions, balanced usability, and cost, you can confidently choose software that enhances your productivity and delivers high-quality images.
Best real estate photo editing tools
Choosing the right editing software property photos depends on your workflow, skill level, and output quality. Below are the best photo editing apps widely used in real estate photography, with a clear breakdown of features, strengths, and limitations.
Adobe Lightroom
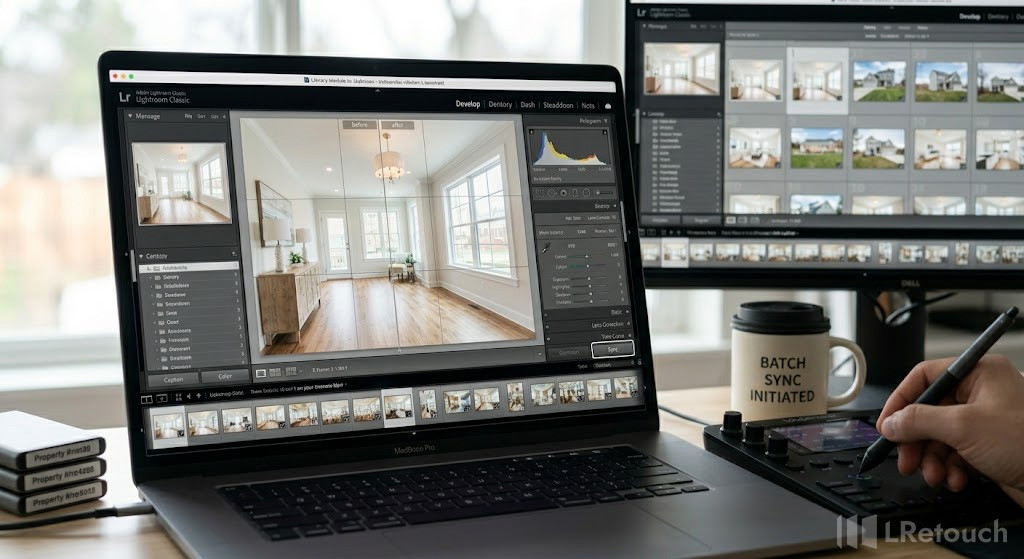
Lightroom real estate photo editing workflow
Adobe Lightroom is designed for speed and efficiency. It offers powerful batch processing, allowing you to edit multiple images at once. The software supports RAW files, advanced color correction, lens correction, and preset-based workflows, making Lightroom real estate editing highly consistent across large photo sets.
| Strengths | Limits |
|
|
Adobe Photoshop
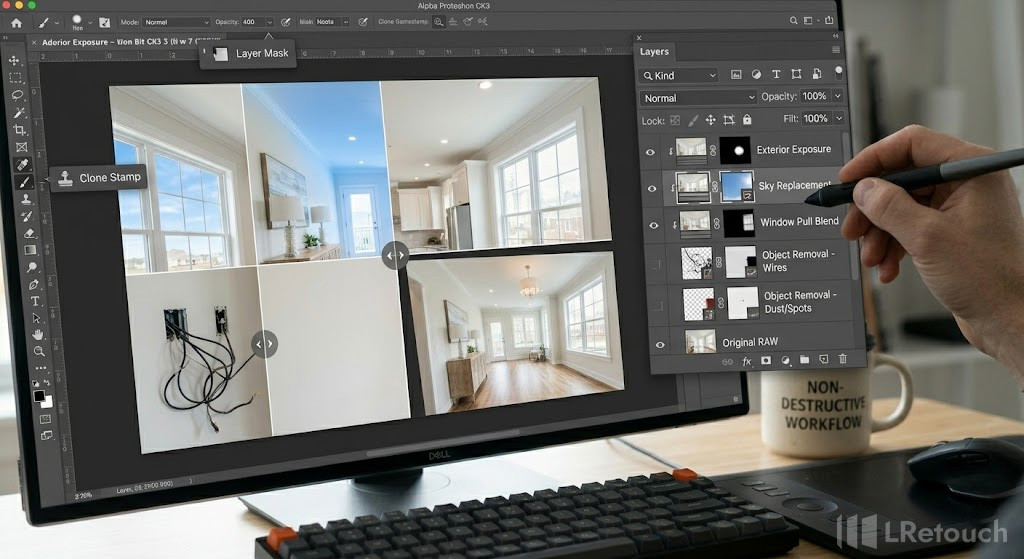
Photoshop real estate editing, layer-based editing, sky replacement and object removal, professional retouching
Adobe Photoshop provides advanced editing capabilities through its layer-based system. It enables detailed retouching, object removal, sky replacement, and precise perspective correction. Photoshop real estate workflows are ideal for high-end property images that require fine adjustments and compositing.
| Strengths | Limits |
|
|
Photomatrix Pro

HDR editing tools real estate photo example
Photomatix Pro specializes in HDR processing. It merges multiple exposures into a single balanced image, helping manage extreme lighting differences between interiors and windows. As one of the leading HDR editing tools, it also supports batch HDR processing and ghost removal.
| Strengths | Limits |
|
|
Fotello
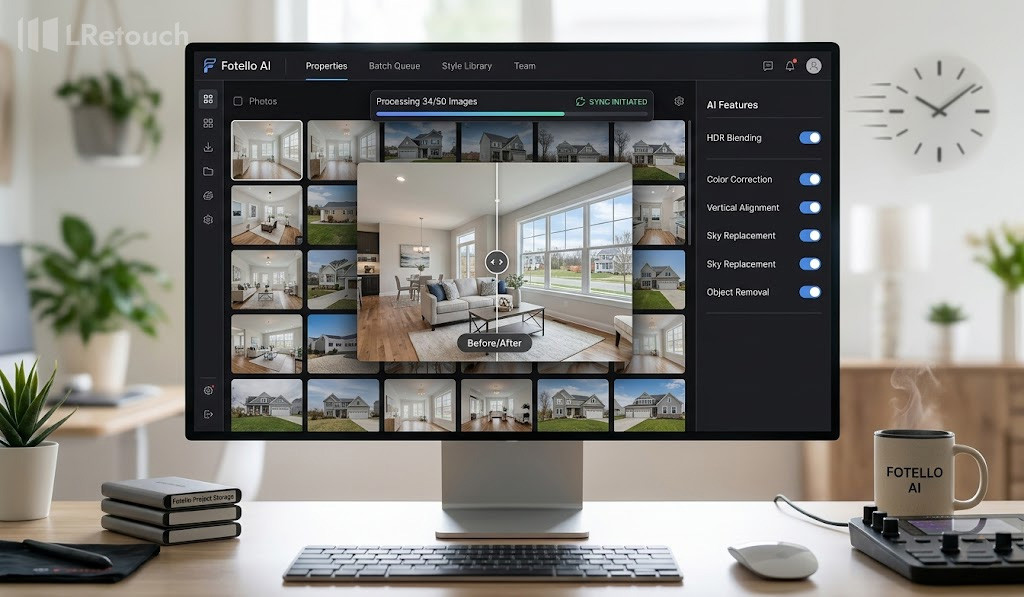
AI real estate photo editing tools workflow
Fotello is an AI-powered platform for real estate photo editing that automates tasks like HDR blending, color correction, and sky replacement. It delivers fast, consistent results at lower cost, making it ideal for high-volume workflows, though complex images still require manual refinement.
| Strengths | Limits |
|
|
Capture One
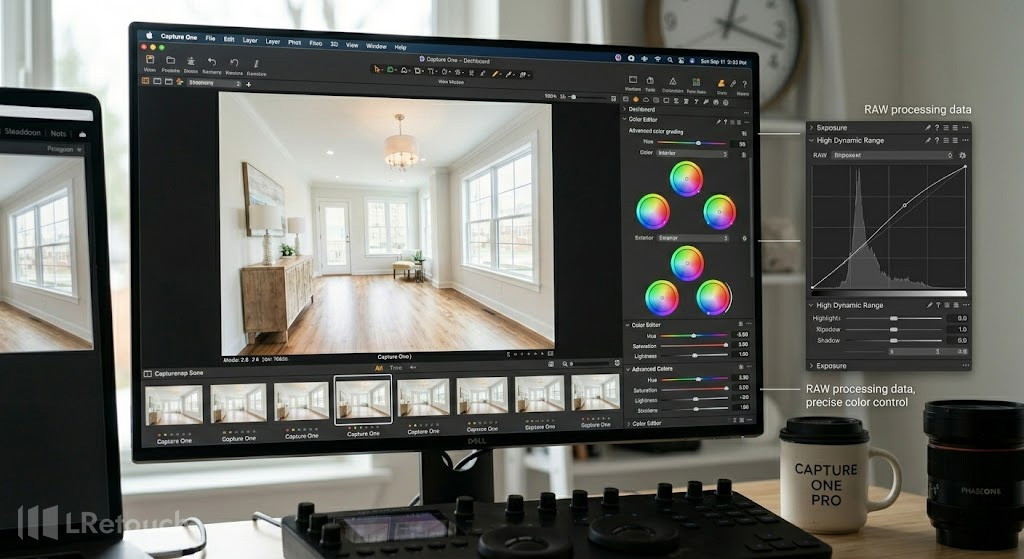
Capture One real estate photo editing software
Capture One is known for its superior RAW processing and color grading. It includes advanced tethering, layer-based adjustments, and strong perspective correction tools, making it suitable for architectural and real estate photography.
| Strengths | Limits |
|
|
AutoHDR
AutoHDR is an AI-powered solution designed to simplify real estate photo editing by automating HDR processing and basic enhancements. It can quickly merge exposures, balance lighting, and improve overall image appearance with minimal manual input.
This makes it a practical option for photographers who need fast turnaround while maintaining acceptable quality. In most cases, AutoHDR can achieve around 70% of the quality of manual editing, at roughly 70% of the cost, while delivering results up to 10 times faster.
| Strengths | Limits |
| • Fast processing with AI automation
• Handles basic edits like exposure, color, and HDR effectively • Reduces editing time significantly (up to 10x faster) • Cost-effective compared to manual editing workflows |
• Not suitable for complex editing scenarios
• Limited control over precise adjustments • Image quality may drop to about 80–90% in resolution and size • Requires a human quality check before final delivery |
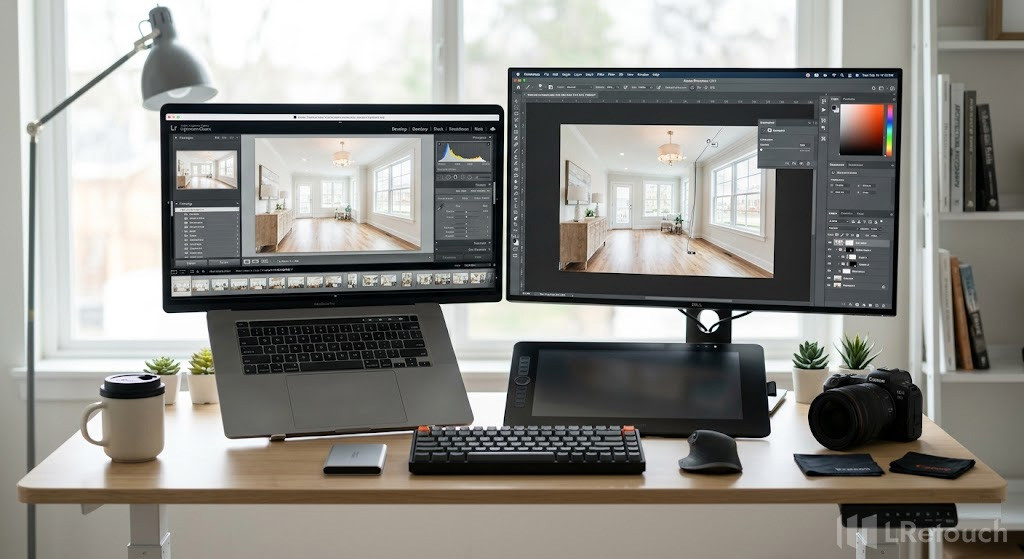
The most effective workflow combines multiple tools. Use Lightroom vs Photoshop real estate for precision and speed, and specialized HDR editing tools or AI software for targeted improvements.
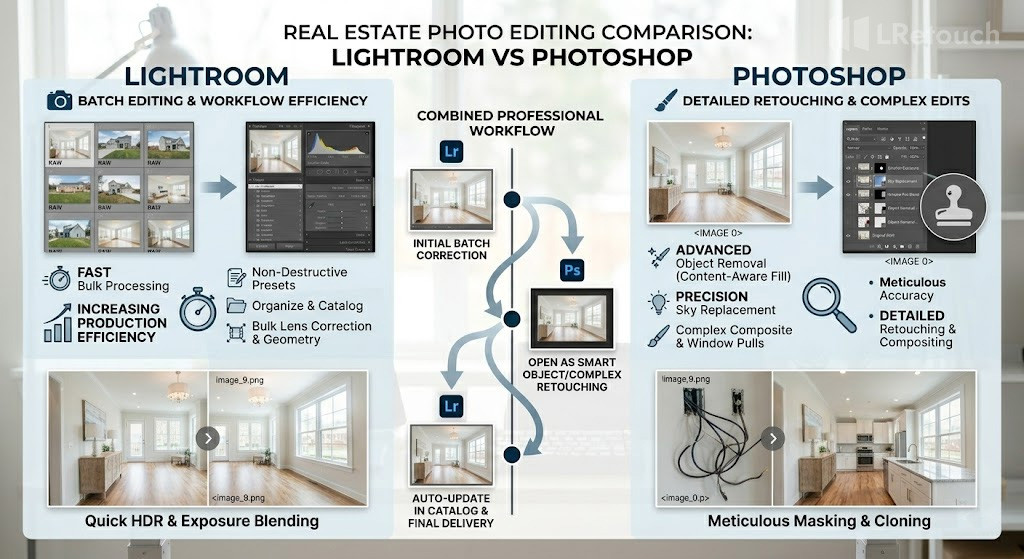
Lightroom vs Photoshop real estate photo editing comparison
Choosing the right mix of the best photo editing apps will help you produce high-quality images efficiently and consistently.
Tips for getting better real estate photography
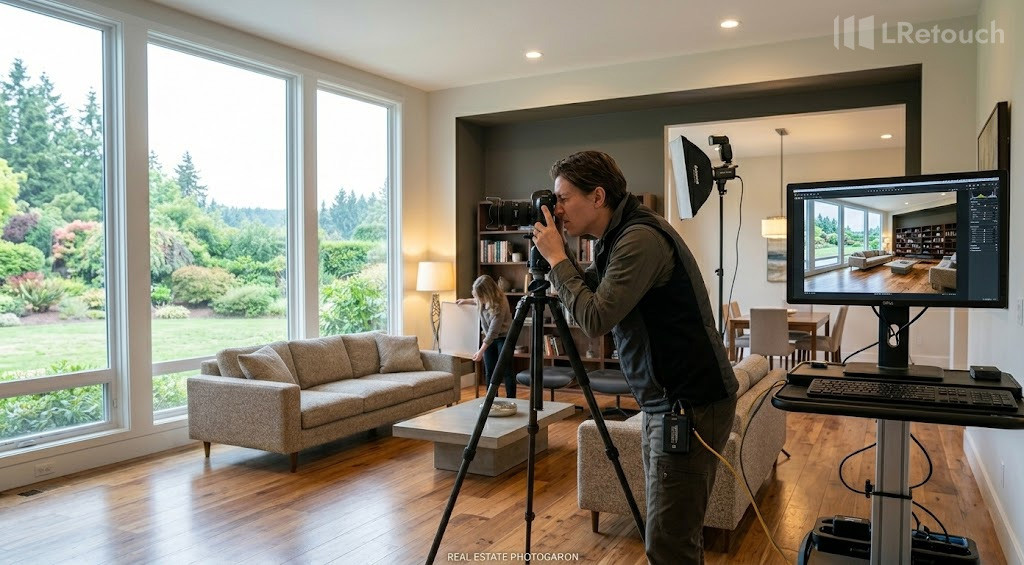
real estate photography setup tripod lighting
If you’re starting out with real estate photography for beginners, focusing on core techniques will quickly improve your image quality and consistency.
- Use natural and balanced lighting
Whenever possible, shoot in daylight. Open curtains and turn on indoor lights to create a warm, evenly lit space. For challenging lighting, consider bracketing exposures to capture details in both bright and dark areas.
- Keep your camera stable
Use a tripod to avoid blur and maintain consistent angles across all shots. This is especially important for low-light interiors and HDR photography.
- Select the suitable shooting height
Position your camera at chest level for a natural perspective. This helps rooms look proportionate and avoids awkward angles.
- Focus on composition and straight lines
Ensure vertical lines stay aligned to avoid distortion. Compose each shot to emphasize openness and layout, helping rooms feel more spacious and welcoming.
- Declutter and stage the space
Clear out personal belongings and excess clutter. A tidy, well-arranged space helps potential buyers imagine themselves living there.
- Edit with a light touch
Use real estate photo editing tools to enhance brightness, contrast, and color balance. Avoid over-editing—natural-looking images build more trust and appeal.
Applying these practical tips will help beginners produce clean, professional real estate photos that stand out in listings.
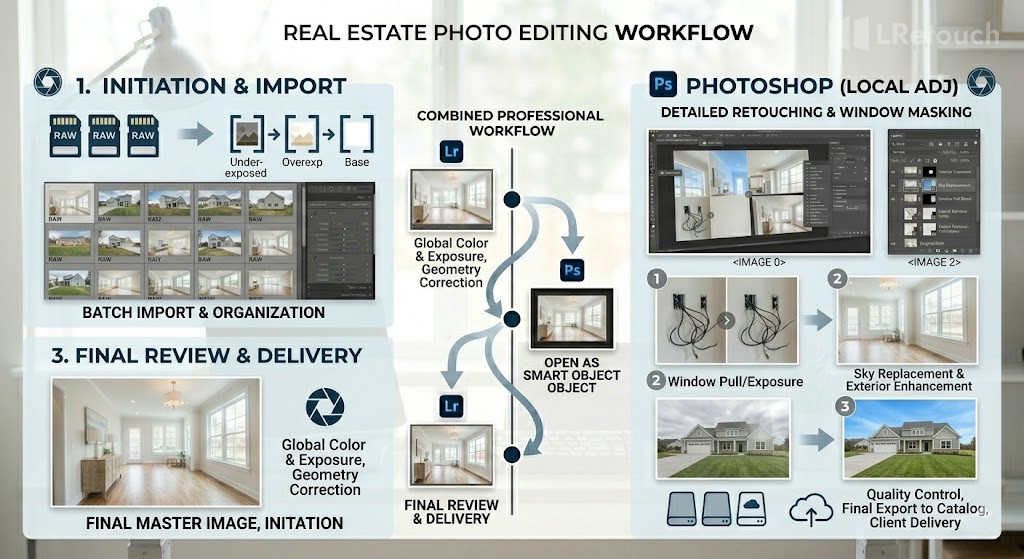
real estate photo editing workflow process
Closing thoughts
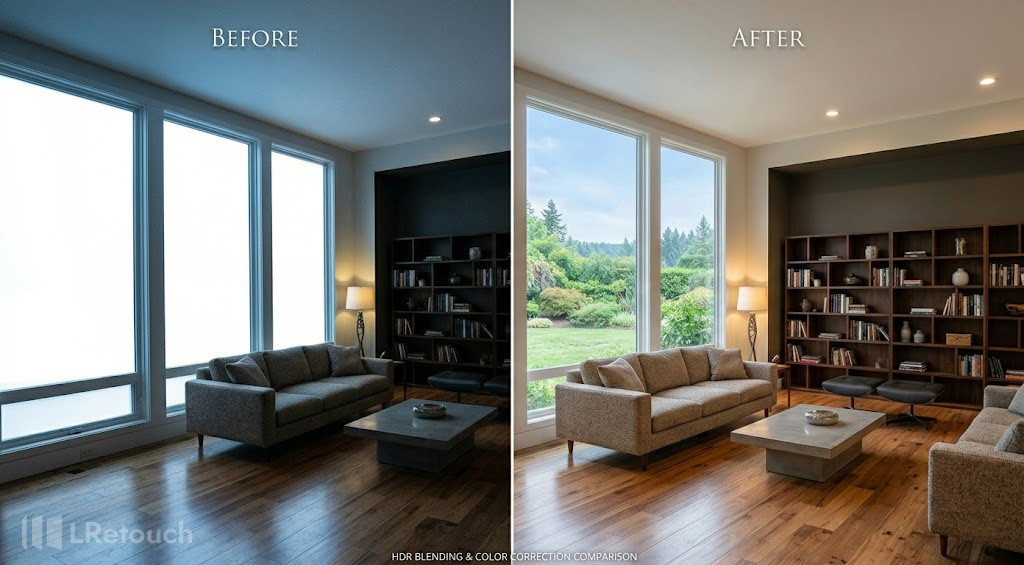
before and after real estate photo editing result
In real estate photography, the right editing workflow can save time, improve consistency, and make every listing look more professional. Focus on speed, real estate-specific features, and ease of use to get better results with less effort. Choosing the right software helps you deliver sharper images, cleaner interiors, and stronger presentations across every project. That is why many photographers rely on the best Real Estate Photo Editing Tools.