
An upload photo editing service makes real estate photo processing simple and organized. You can upload property images, add editing instructions, and receive polished photos. A clear process helps photographers save time and keep every listing consistent.
Upload photo editing service: Step-by-step guide
A professional real estate photo editing service follows a simple process. It usually includes four main steps. These steps cover image preparation, uploading, editing, and final delivery.
Step 1: Prepare Your Property Photos
Good preparation makes the editing workflow faster. It also reduces mistakes during the order process.
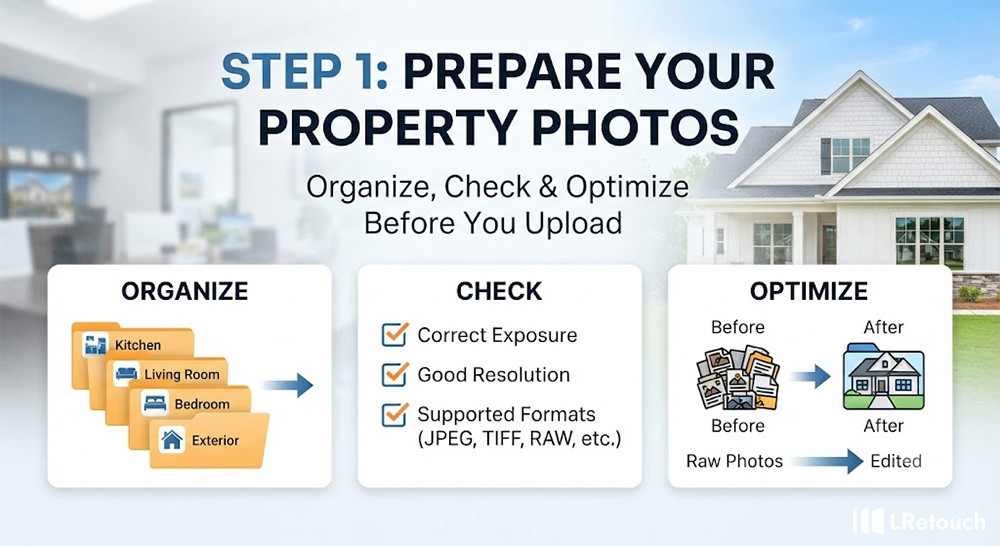
Start by organizing photos by property or room. For example, create folders for the kitchen, living room, bedrooms, and exterior.
Check each image before uploading. Make sure the photos have good resolution and proper exposure. Also, check the supported file formats.
Step 1: Prepare Your Property Photos
Common formats include:
- JPEG and JPG
- PNG
- TIFF
- RAW files
- HDR bracketed images
Remove unnecessary or duplicate images before uploading. This step prevents extra editing charges. It also helps editors identify the correct files.
For example, a photographer may shoot 120 images for one property. Only 85 images may need editing. Removing the other 35 files saves time and money.
Step 2: Upload photo editing service
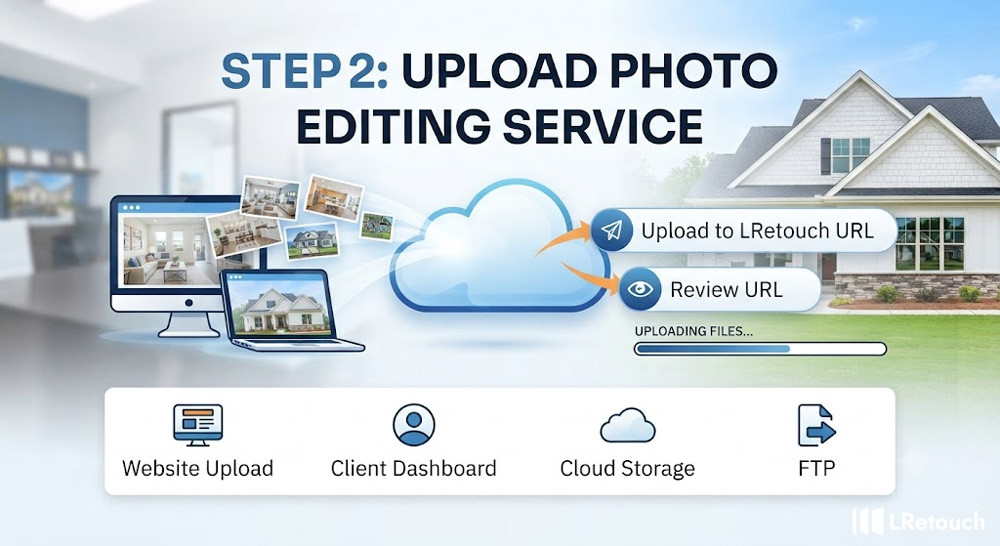
The next step is to upload your property images to the chosen editing provider. Professional services may offer different upload methods, such as a website, client dashboard, cloud storage, or FTP.
Step 2: Upload photo editing service
For example, LRetouch provides a default uploading method that simplifies the file submission process. When the “Apply Default Uploading Method” option is enabled, the system automatically generates an Upload to LRetouch URL and a Review URL when you submit a new order.
You can use the Upload to LRetouch URL to send your images directly to the LRetouch Dropbox.
Step 3: Professional Photo Editing
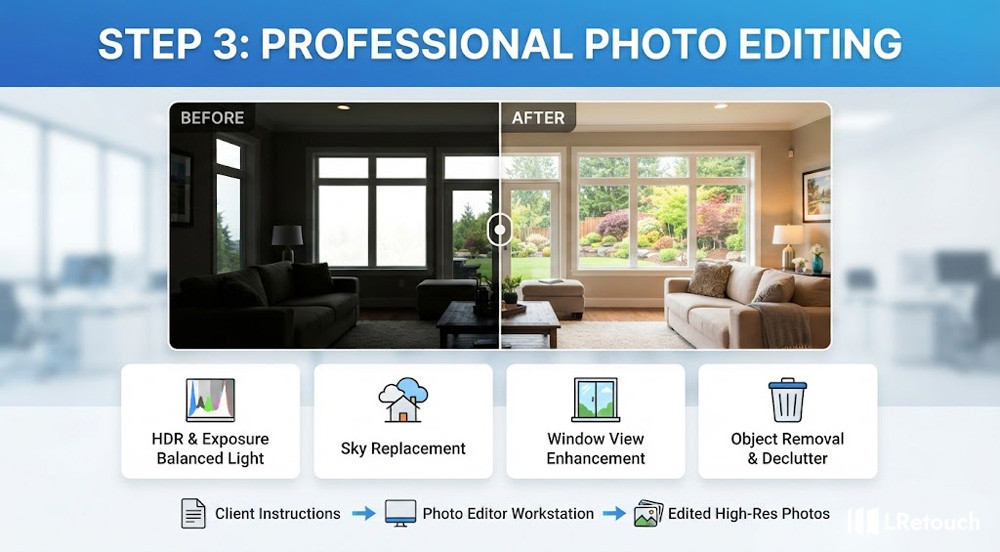
After the files are uploaded, an Account Manager reviews them, completes the Link Of Input field, and creates a Work Order for an editor to process the images.
When submitting an order, include clear editing instructions and any special requirements.
For example, you can request HDR processing, sky replacement, object removal, or specific brightness and color adjustments.
A quality online editing service may provide several real estate editing options.
Step 3: Professional Photo Editing
HDR and Exposure Correction
HDR editing combines multiple exposures into one balanced image. It can improve details in bright and dark areas.
For example, a window may look too bright in an original photo. HDR processing can balance the indoor and outdoor exposure.
Color and White Balance Adjustment
Editors correct color problems caused by different lighting conditions. They also adjust white balance for a natural appearance.
This process helps walls, furniture, and flooring look more accurate.
Sky Replacement
A dull sky can reduce the impact of an exterior property photo. Editors can replace it with a suitable sky.
The replacement should match the lighting and perspective. Natural results are important for real estate marketing.
Window View Enhancement
Bright windows can hide outdoor views. Editors can recover or enhance the details outside the windows.
This technique can make rooms look brighter and more attractive.
Object Removal
Editors can remove distracting objects from property photos. Common examples include:
- Trash cans
- Cables
- Small signs
- Personal items
- Minor stains
- Unwanted vehicles
The goal is to improve presentation without misrepresenting the property.
Lawn and Landscaping Enhancement
Exterior photos can benefit from subtle landscaping adjustments. Editors may improve grass color or remove minor distractions.
These changes should remain realistic. Over-editing can make a property look misleading.
Virtual Twilight Editing
Virtual twilight editing transforms a daytime exterior into a dusk-style image. It can create a warmer and more premium appearance.
This service is useful for properties with attractive exterior lighting.
Some providers offer a 24h photo editing service for urgent real estate listings. Turnaround times vary by provider and order size.
Step 4: Review and Download Edited Photos
The final step is reviewing the completed images.
Check the photos against your original instructions. Look for consistent brightness, colors, and editing quality.
If something needs correction, request a revision. A reliable provider should have a clear revision process.
After approval, download the high-resolution images. You can then use them on property websites, MLS listings, social media, and marketing materials.
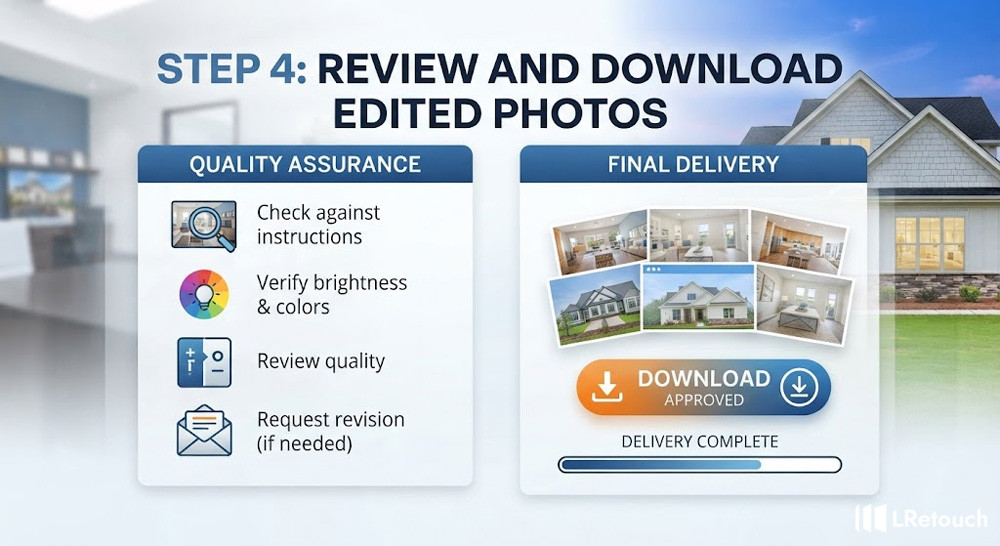
Step 4: Review and Download Edited Photos
A simple review checklist can include:
- Correct exposure
- Natural colors
- Clean windows
- Realistic skies
- Proper object removal
- Consistent editing
- Correct image dimensions
Note: If the Upload to LRetouch URL and Review URL do not appear after submitting your order, contact your Account Manager for assistance.
What Photos Can You Upload for Real Estate Editing?
A professional editing service can handle many types of real estate images. The right service depends on your photography workflow.
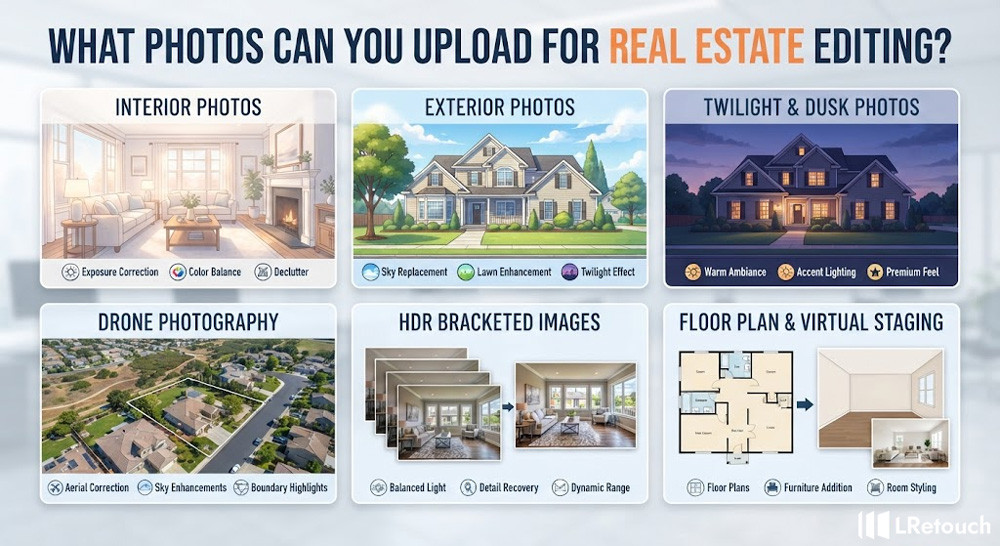
What Photos Can You Upload for Real Estate Editing?
Interior Property Photos
Interior images include bedrooms, kitchens, bathrooms, living rooms, and other spaces.
Editors can correct exposure, color, shadows, and unwanted distractions.
Exterior Photos
Exterior images show the property’s front, backyard, garden, driveway, or surrounding areas.
Editing can improve lighting, sky appearance, lawn color, and minor distractions.
Twilight and Dusk Photos
Twilight photos create a warm atmosphere. They are often used for luxury homes and high-end property listings.
Drone Photography
Aerial photos can highlight the property’s location and surrounding landscape. Editors can improve exposure, colors, and remove distracting elements.
HDR Bracketed Images
HDR bracketed photos contain different exposure levels. Editors combine them to create a balanced final image.
For example, a photographer may capture three or five exposures of the same room. The editor combines them into one polished image.
RAW Files
RAW files contain more editing information than standard JPEG files. They provide greater flexibility for exposure and color correction.
However, check the provider’s supported RAW formats before uploading.
JPEG Images
JPEG remains one of the most common formats for real estate photography. It offers smaller file sizes and easy sharing.
JPEG files work well for many standard editing tasks.
Floor Plan and Virtual Staging Images
Some editing companies also handle floor plans and virtual staging. These services can support a complete property marketing package.
Always check the provider’s service list before placing an order.
How to Upload Photos to a Real Estate Photo Editing Service
There are several ways to send images editing services. The best option depends on your file volume and workflow.
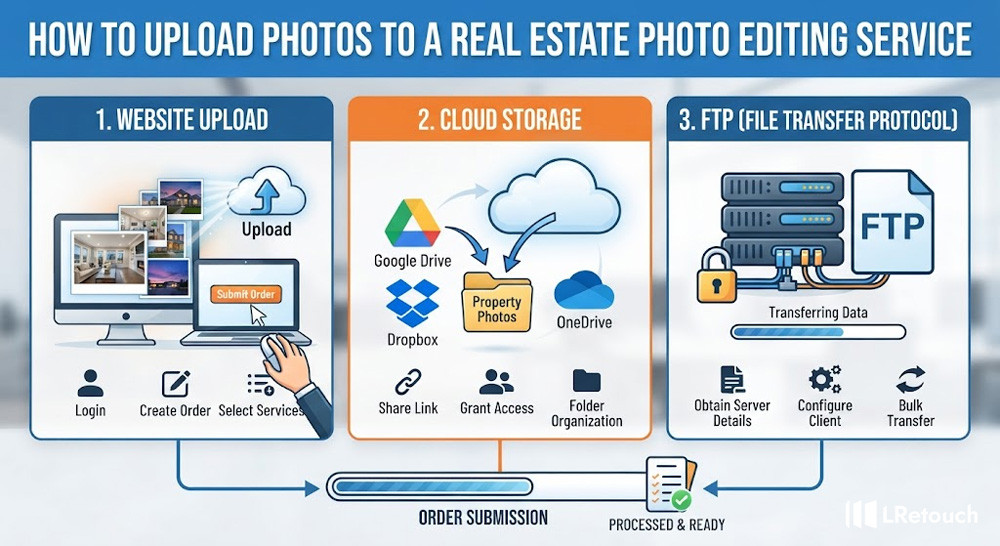
How to Upload Photos to a Real Estate Photo Editing Service
Upload Through a Website
Website uploads are simple for individual photographers and smaller orders.
The typical process includes:
- Log in to your account.
- Create a new order.
- Upload your images.
- Select the required editing services.
- Add editing instructions.
- Review your order.
- Submit the order.
Some services provide a free photo editing sample before you place a larger order. This can help you evaluate editing quality.
For example, you could upload one interior image. The editor processes it using the requested style. You can then compare the result with your expectations.
Upload Through Cloud Storage
Cloud storage is useful for larger image batches. It can also simplify collaboration between photographers and editors.
Common platforms include:
- Google Drive
- Dropbox
- OneDrive
- Other supported cloud platforms
You usually upload the property folder first. Then, you share the folder or link with the editing provider.
Use clear folder names for easier order management. For example, use “123-Main-Street-Interior” instead of “Photos-New.”
Upload Through FTP
FTP is useful for photographers who handle large volumes regularly.
It allows users to transfer many files efficiently. It can also support recurring professional workflows.
FTP is especially useful for real estate photography companies. For example, a company may process hundreds of images every week.
A standardized FTP workflow can reduce repetitive upload tasks. It also helps teams manage multiple properties.
Before using FTP, ask the provider for the correct server details and upload instructions.
Conclusion
A professional upload process makes real estate photo editing faster and easier. Organize your files, provide clear instructions, and choose a reliable provider for consistent results. For an efficient workflow, choose an upload photo editing service.