Smart capture = powerful edits
When it comes to real estate photography, stunning final images aren’t just made in post—they start with how you shoot.
At LRetouch, we process thousands of HDR images every week, and one thing is always true: well-captured brackets make for clean, natural, and high-impact edits. Whether you’re a seasoned photographer or new to HDR, here are some quick field tips from an editor’s point of view.
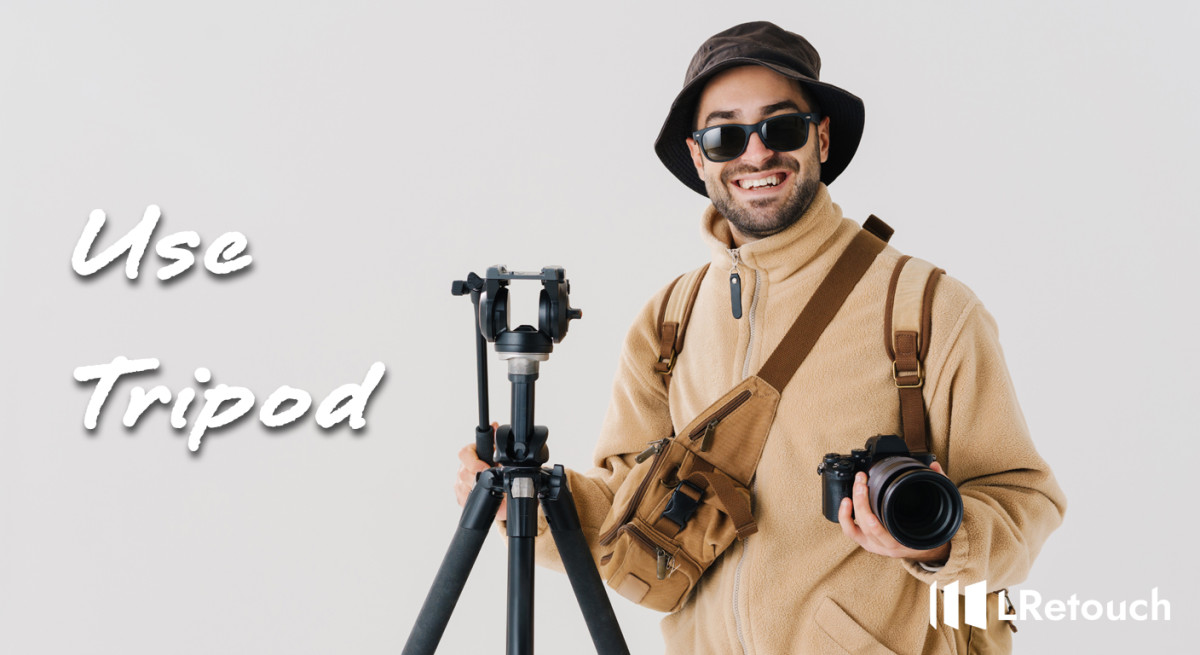
1. Use a Tripod and Remote Trigger (or Camera Timer)
Camera shake between exposures even a slight shift can lead to misalignment and ghosting during hdr blending—two things that even skilled editors struggle to fix cleanly.
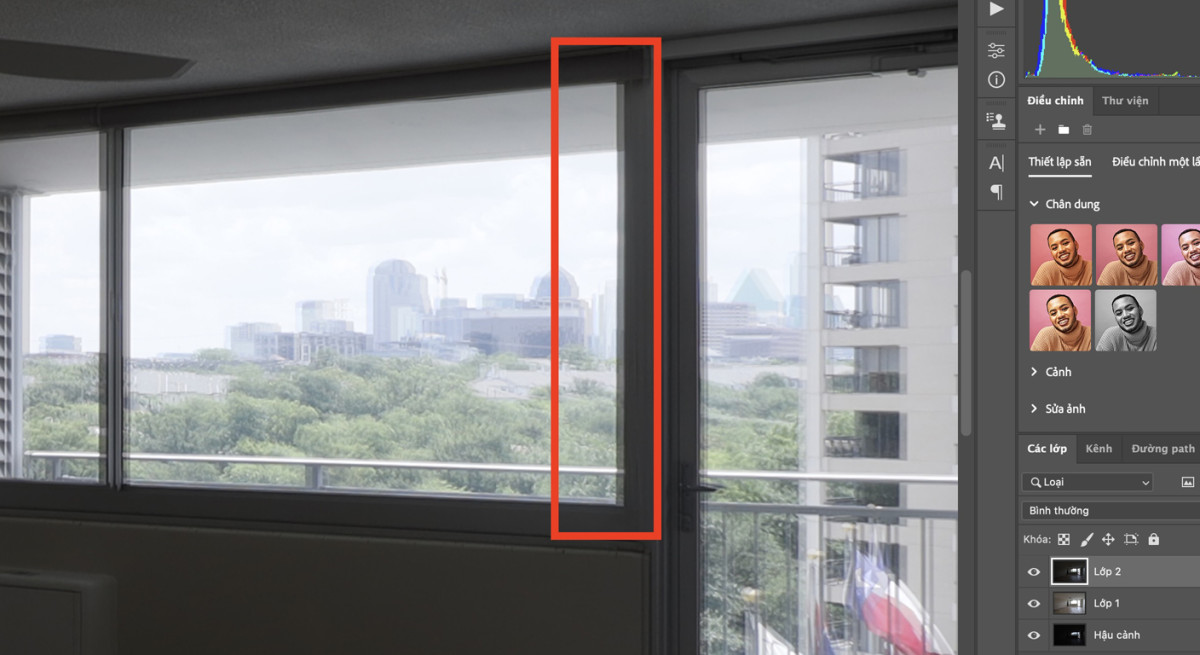
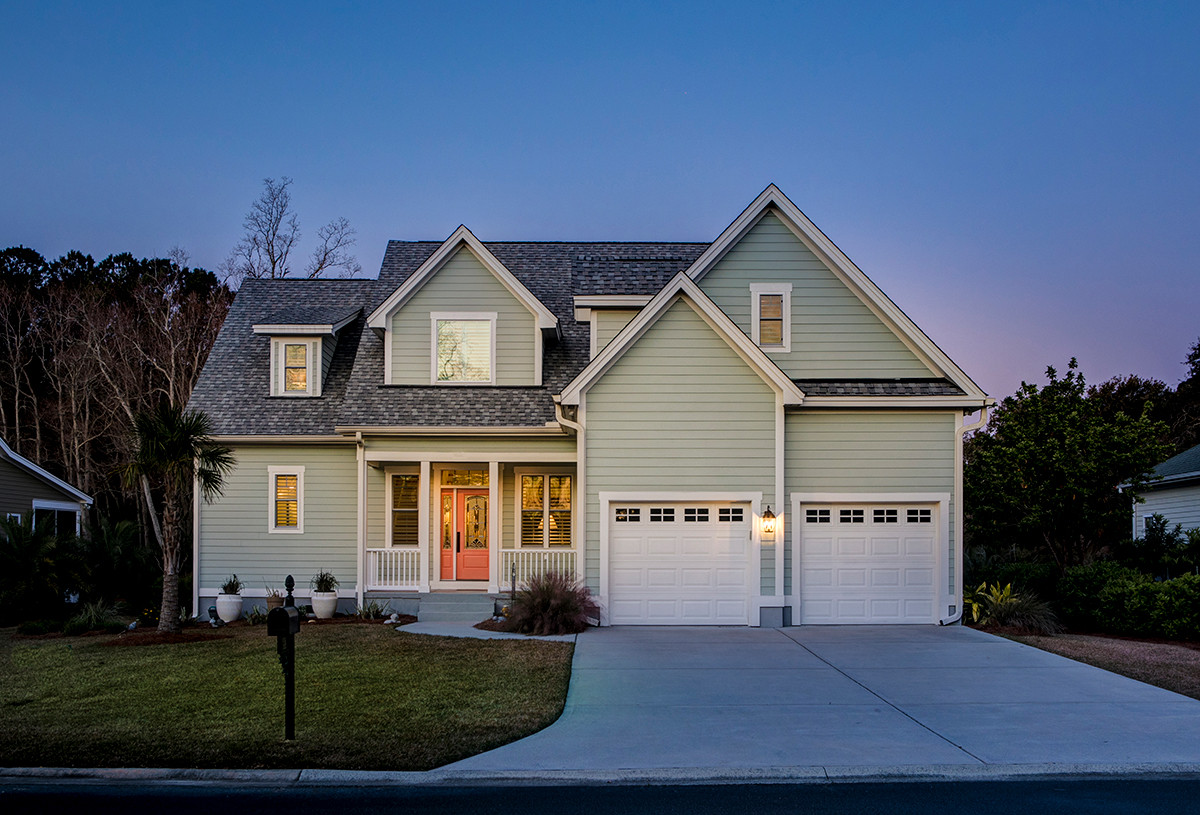
The misalignment in the window frame—highlighted in red—is a clear sign of camera movement between exposures.
A sturdy tripod ensures consistent framing across all bracketed shots. Combined with a remote trigger or your camera’s timer function, it helps eliminate camera shake and keeps your HDR sequences sharp and perfectly aligned.
Use tripod to ensure consitent framing across all bracketed shots.
Tips:
“Lock your camera position and fire brackets remotely to ensure perfect alignment across frames. If you don’t have a remote trigger, use your camera’s timer function to delay the shutter. Step back and keep still while holding your breath just before the shot to reduce even the smallest movements. Every bit of stability helps us work magic in post.”
2. Always Shoot in RAW
RAW files are essential for high-quality HDR editing. Unlike JPEGs, which compress and discard valuable image data, RAW files preserve the full dynamic range and all exposure information. This allows editors to recover highlights, bring back shadow detail, correct lens distortion, and balance color tones more accurately.
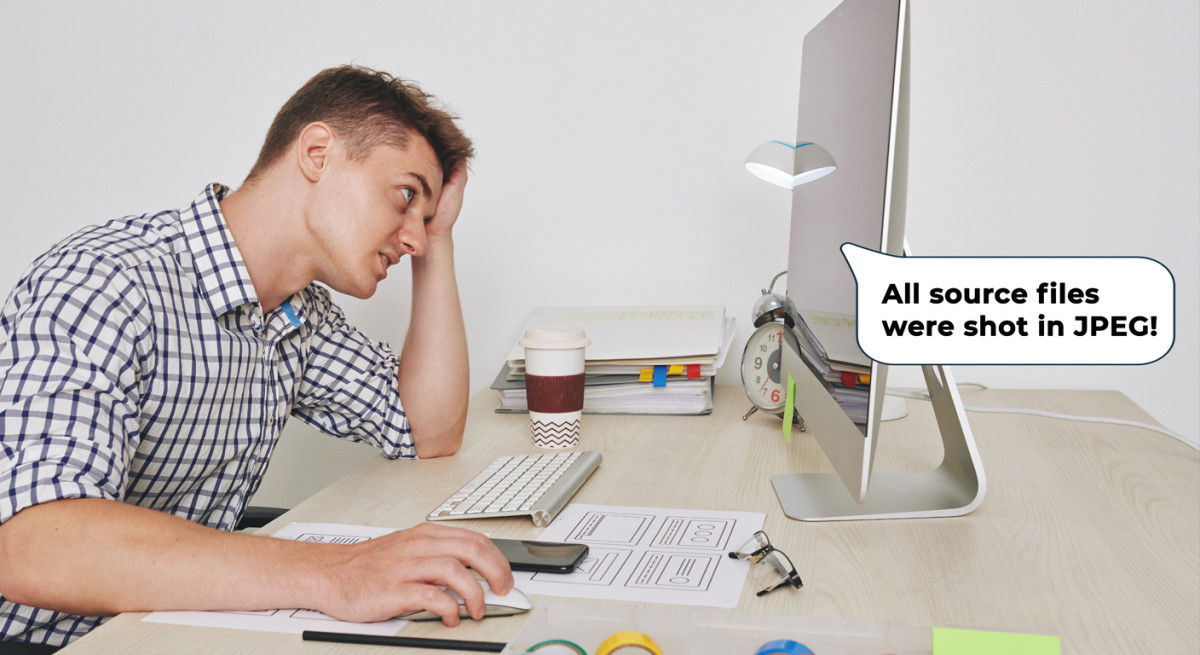
The editor was unhappy with the HDR images being delivered as JPEGs.
When you shoot in JPEG, you limit the editor’s flexibility:
- Blown-out highlights can’t be recovered.
- Shadow details may be muddy or lost entirely.
- Color grading and tone adjustments may introduce banding or artifacts.
- Lens corrections are less precise due to limited metadata.
Bottom line: JPEGs are designed for final delivery, not for editing. For clean blends and professional results, always shoot your HDR brackets in RAW format.
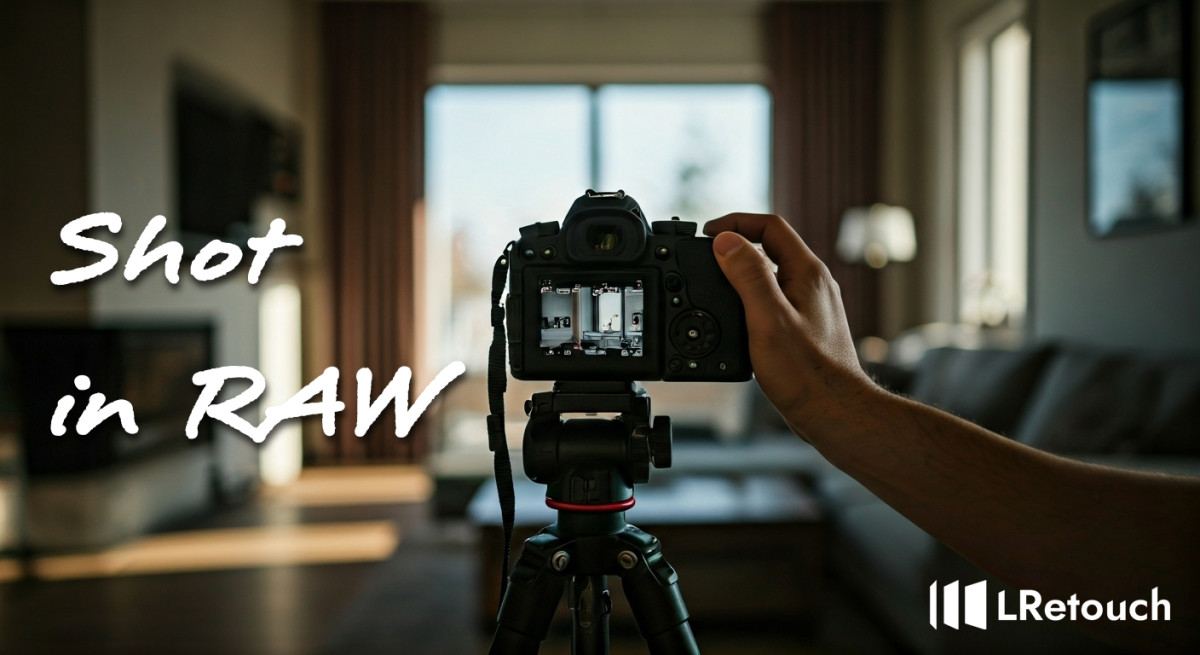
Shoot in RAW—Not JPEG
3. Bracket Evenly for Better Dynamic Range
For the best HDR results, we recommend capturing 5 bracketed exposures at even intervals (e.g., -2, -1, 0, +1, +2 EV). Why 5?
- More Than 3? Three exposures often aren’t enough to capture the full range of shadow and highlight details—especially in high-contrast interior/exterior shots. You risk blown-out windows or crushed shadows.
- Less Than 7? While 7 or more exposures can provide more tonal data, they significantly increase file size and upload times without delivering major gains—especially when shooting in RAW. It also adds unnecessary complexity to post-processing.
- Why 5 Is Ideal Five well-balanced exposures offer a perfect balance of dynamic range, editing flexibility, and file efficiency. This gives editors enough tonal data to create natural-looking blends with clean transitions and accurate lighting.

More than 5 bracketed HDR exposures greatly increase file size and upload times, with minimal improvement in quality.
Tips:
“Keep your exposure steps consistent (1 EV apart), and avoid letting highlights clip in your brightest shot or shadows block in the darkest one.”
Why It Matters: Clean Inputs = Efficient, High-Quality Results
Think of it like preparing your gear before a photoshoot—the more carefully you prep (charged batteries, clean lenses, organized equipment), the smoother the shoot goes. The same goes for your bracketed images: the cleaner and more consistent they are, the faster and more accurately your editor can deliver high-quality results.
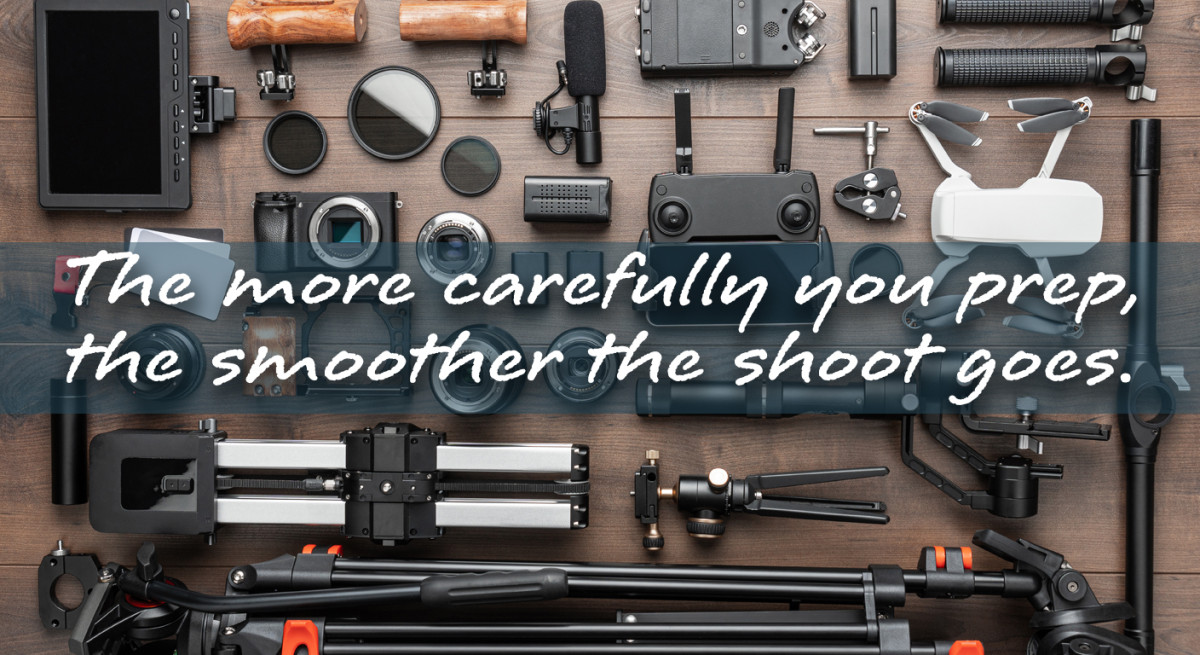
The more carefully you prep, the smoother the shoot goes.
Here’s why getting the capture right—especially in HDR—is so important:
1. Faster Editing Workflow
Clean brackets (consistent framing, no ghosting, accurate exposure spread) let editors skip time-consuming corrections like alignment, masking, or deghosting. That means quicker turnarounds and more reliable delivery timelines.
2. More Accurate Results
Good source material allows editors to preserve natural light balance and color fidelity. RAW files and even bracketing help us avoid artificial-looking HDR blends and ensure accurate tones in both highlights and shadows.
3. Higher Consistency Across Sets
Well-executed inputs make it easier to maintain a consistent editing style—across multiple photos, rooms, or even listings. This is crucial for photographers working with multiple agents or teams who expect brand consistency.
4. Improved Image Quality
Minimizing camera shake and maximizing tonal range with 5-bracket RAW shots means sharper detail, smoother transitions, and richer colors—images that not only look better, but sell better.
5. Reduces the Need for Revisions
Cleaner inputs reduce the likelihood of common edit issues (blown highlights, misalignment, color casts), minimizing revision requests and keeping your projects moving smoothly.
Need a Reliable HDR Editing Partner?
At LRetouch, we don’t just process your photos—we elevate your work. With quick turnaround, consistent results, and a client portal designed for smooth collaboration, we help real estate photographers streamline their post-production process without compromising quality.
📩 Let’s talk about your next HDR project.