

Real estate photo editing workflow for beginners helps photographers create professional property images faster and more consistently. From photo culling and HDR editing to final exports, a structured workflow improves editing speed, image quality, and client satisfaction. This guide explains the essential steps, tools, and AI techniques beginners can use to streamline real estate photo editing.
Key takeaway
- Fast turnaround is essential – Around 67% of real estate agents expect completed property photos within 24 hours or less, making workflow efficiency critical.
- Photo culling is a major time drain – Manually reviewing and selecting images from a shoot can take 2–3 hours, while AI-powered culling tools can reduce sorting time by up to 90%.
- AI photo editing has become an industry standard – Modern AI editing platforms can learn a photographer’s editing style and automate color correction, exposure balancing, and consistency across galleries.
- AI editing tools dramatically reduce workload – Solutions such as AI-assisted Lightroom workflows can save up to 96% of manual editing time.
- Consistency strengthens brand identity – A standardized editing workflow helps maintain a uniform visual style, improving professionalism and increasing repeat business from real estate agents.
- Training AI models improves editing accuracy – Creating a reliable AI editing profile typically requires a Lightroom catalog with at least 5,000 previously edited photos.
- HDR blending is increasingly expected – High Dynamic Range (HDR) editing helps balance bright windows and dark interiors, producing more professional real estate images.
- Sky replacements enhance listing appeal – Advanced editing workflows often include realistic sky replacement techniques to improve exterior property photos.
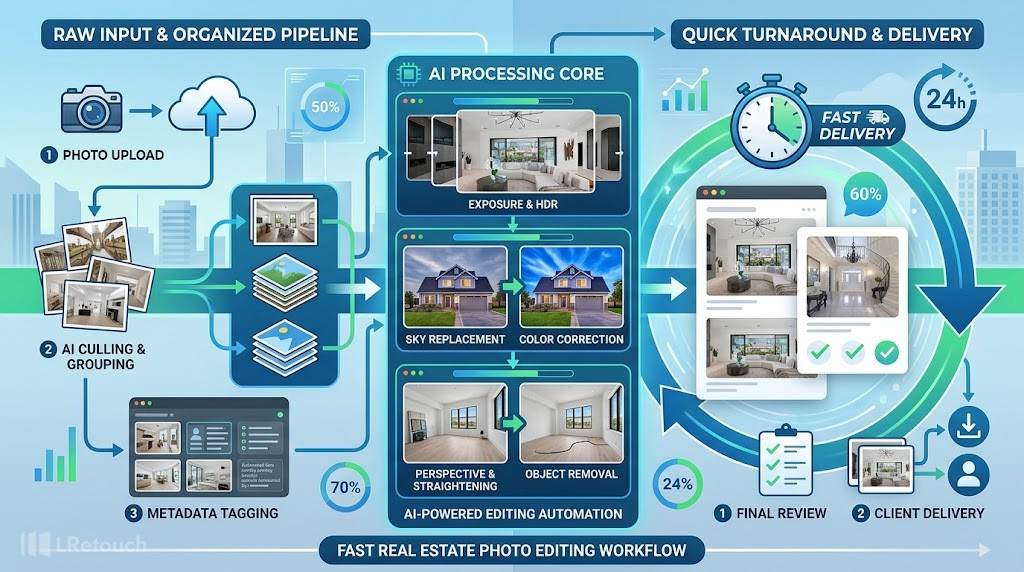
An infographic visualizing speed, AI tools, and efficiency in modern real estate photo editing.
Real estate photo editing workflow
A professional real estate photo editing workflow helps photographers deliver bright, realistic, and consistent property images while meeting fast turnaround expectations.
In today’s market, nearly 67% of real estate agents expect edited photos within 24 hours, making an efficient workflow essential for productivity and client satisfaction.
A structured real estate editing workflow also improves consistency across listings, helping photographers build a recognizable visual style and secure repeat business.
The most effective editing guide real estate photographers follow usually includes three main stages: ingest and culling, basic editing adjustments, and advanced retouching. Together, these post-processing steps ensure property photos look clean, natural, and attractive to potential buyers.
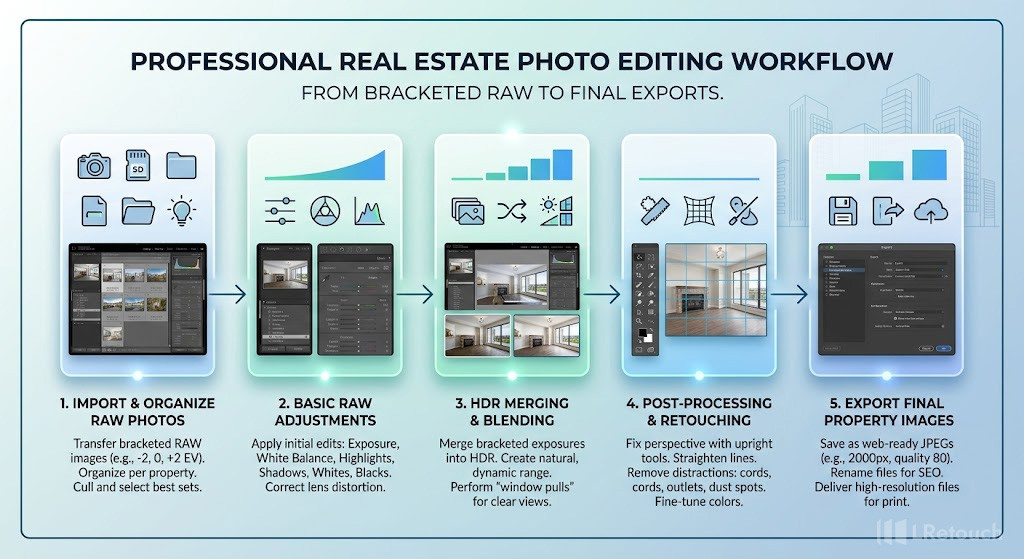
A visual workflow showing the main stages of professional real estate photo editing.
Ingest and Cull
The first step in any real estate photo editing workflow is importing and organizing the images. This stage acts as the filter that removes weak photos before editing begins.
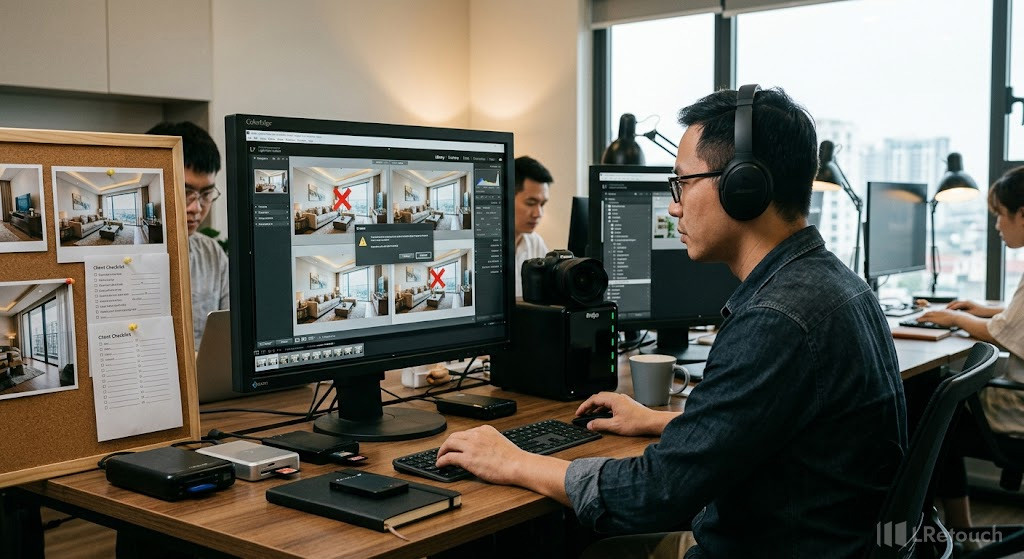
A photographer reviewing and selecting the strongest property photos for editing.
Most photographers import RAW files into Adobe Lightroom and apply a basic import preset immediately. This preset often includes:
- Lens correction for distortion removal
- Chromatic aberration fixes
- Standard color profile adjustments
- Basic sharpening settings
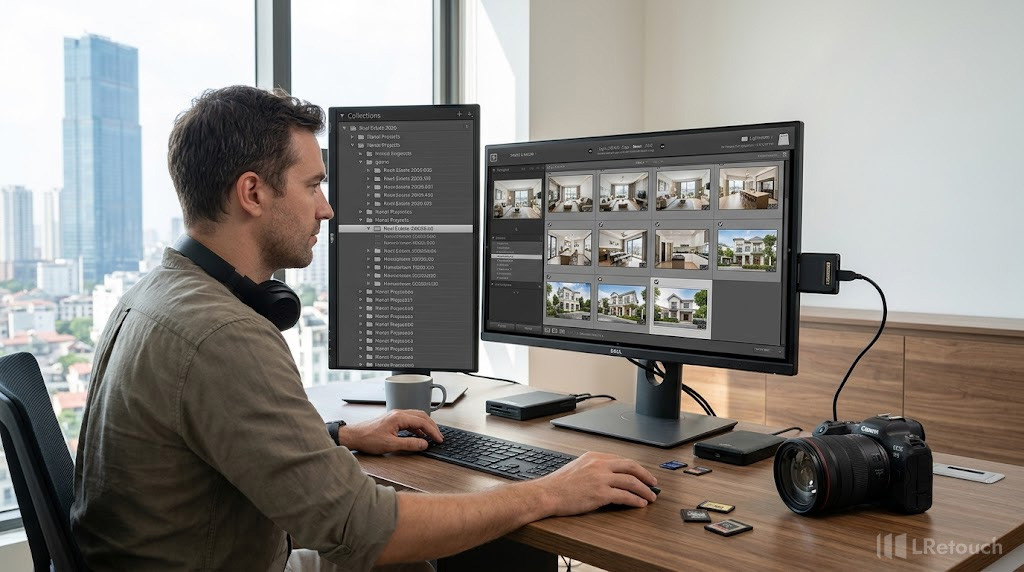
A real estate photographer organizing RAW property images inside Lightroom.
These automated corrections save time and create a cleaner starting point for the editing steps property photos require.
After importing, photographers begin culling. A typical 2,000-square-foot home usually needs around 25–35 final images for a listing. However, a shoot may contain over 100 photos. The goal is to quickly identify the strongest compositions and remove unnecessary shots.
During culling, photographers typically delete:
- Blurry or out-of-focus images
- Duplicate angles
- Poor compositions
- Photos with distracting objects
AI-powered culling tools are becoming increasingly popular because they can reduce sorting time by up to 90%. Instead of spending 2–3 hours reviewing photos manually, photographers can organize a shoot in minutes.

AI software automatically selecting the best property photos during the culling process.
Basic real estate editing workflow
A professional real estate editing workflow is essential for creating bright, realistic, and visually appealing property photos. High-quality listing images can significantly increase online engagement, and studies show that professionally edited real estate photos often attract more buyer interest than unedited images. The goal of the editing steps property photos require is to make interiors look clean, spacious, and natural without appearing over-processed.
White Balance and Tint
One of the first adjustments in the workflow is correcting white balance and tint. Interior lighting often creates yellow, orange, or blue color casts due to mixed light sources.
Editors adjust temperature and tint carefully to create a neutral and balanced appearance.
Rooms should look:
- Bright but realistic
- Warm without appearing yellow
- Clean without becoming overly blue
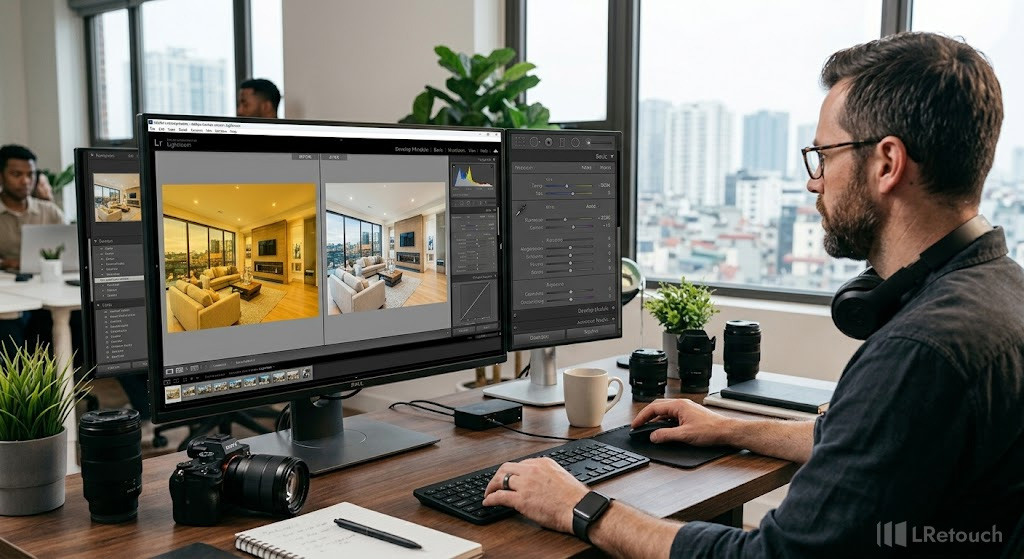
An interior property photo corrected for natural color balance and lighting.
Exposure and Contrast
Exposure and contrast adjustments are also critical to make real estate photos brighter and more inviting. In an HDR workflow real estate process, photographers combine multiple exposures to preserve details in both bright windows and dark interior corners.
Common adjustments include:
- Lowering highlights to recover blown-out windows
- Raising shadows to reveal room details
- Increasing brightness for a more open atmosphere
- Enhancing contrast for depth and dimension
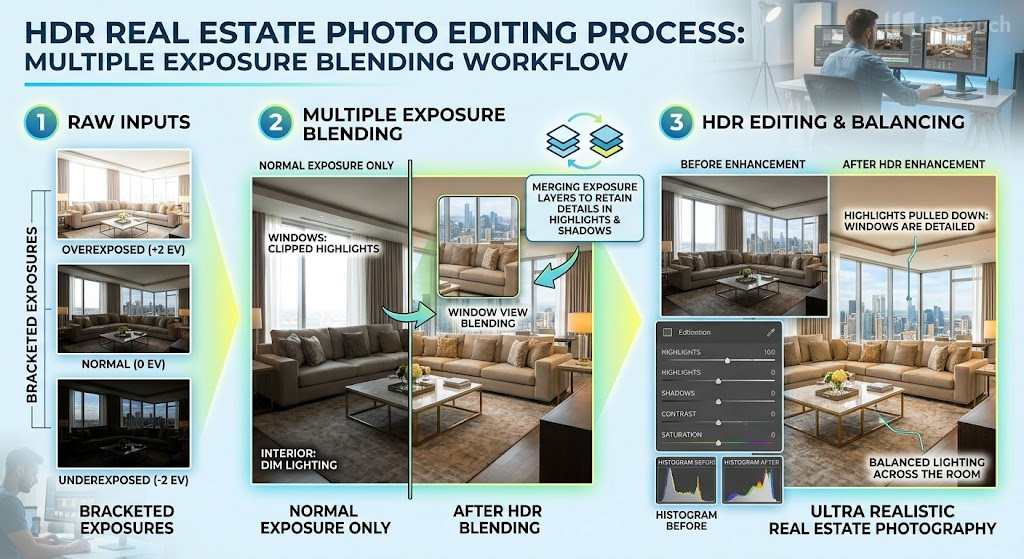
A professional HDR workflow balancing bright windows and dark interior spaces.
Presence and Detail
The presence tools in Lightroom or Photoshop are often used to improve image definition. Slight clarity adjustments sharpen textures, while moderate vibrance boosts colors naturally without oversaturation. Avoid oversaturation because unrealistic colors can damage listing credibility.
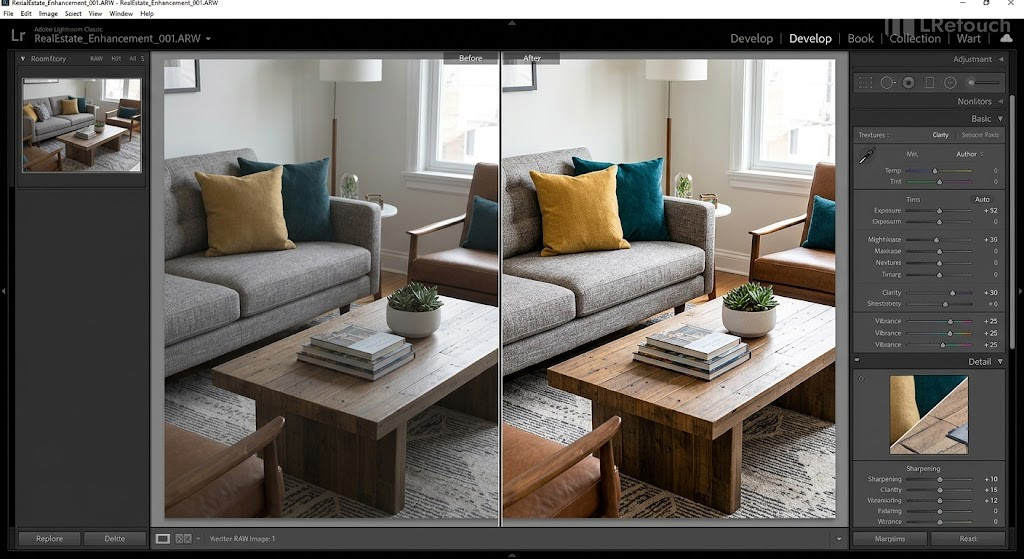
A real estate photo enhanced with clarity, texture, and natural color adjustments.
Vertical Straightening
Another important step in the photo retouching process is vertical straightening. Crooked walls and distorted lines can make rooms appear unrealistic. Editors commonly use the “Upright” geometry tool to ensure walls, windows, and doors remain perfectly vertical.
Most photographers often use Lightroom vs Photoshop real estate editing tools to:
- Straighten walls
- Align doors and windows
- Correct perspective distortion
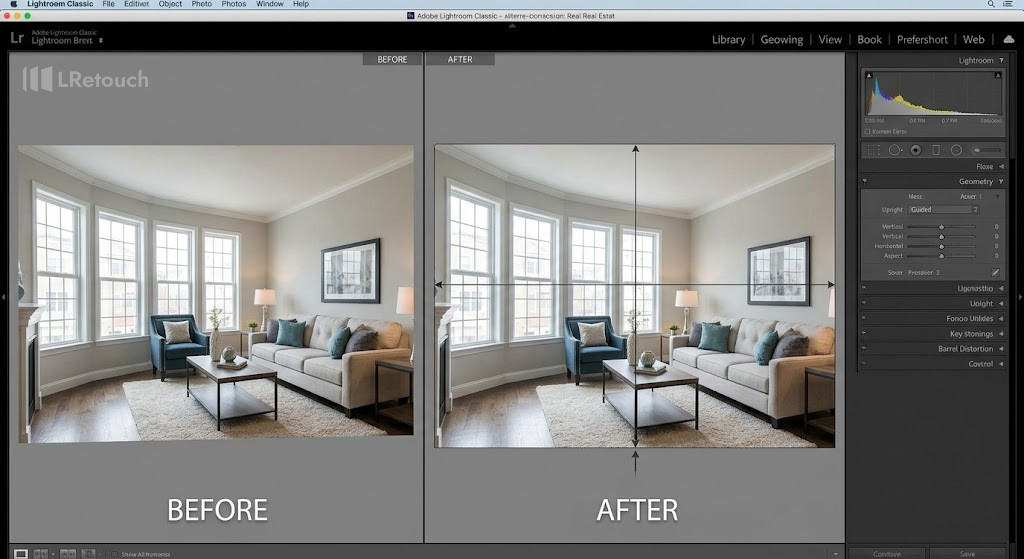
A property image corrected for vertical alignment and perspective distortion.
Window Pull Masking
Window pull masking is another key technique in a real estate editing workflow. If exterior views appear too bright, radial filters or brush masks can selectively reduce exposure around the window area. This helps preserve outdoor scenery while maintaining a natural indoor look.
By following a consistent HDR workflow real estate photographers can deliver professional-quality property images faster while maintaining realistic colors, balanced lighting, and strong visual appeal.
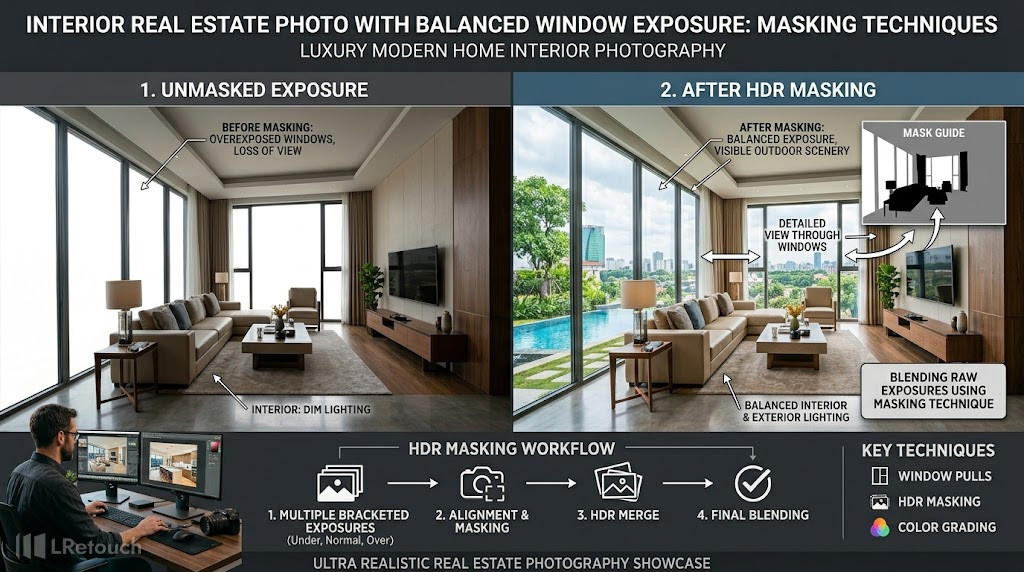
A property photo using window masking to balance interior and exterior exposure.
Advanced touches ( if necessary)
One of the best real estate photography tips is learning how advanced editing can enhance property images and make listings more competitive online.
The final stage of photo editing focuses on refined adjustments that improve brightness, cleanliness, and overall visual appeal while still keeping the images realistic and natural-looking.
Removing Unwanted Objects
Small distractions can reduce the professionalism of property photos and negatively affect buyer perception. Editors commonly remove:
- Electrical cords
- Dust spots
- Reflections
- Small clutter items
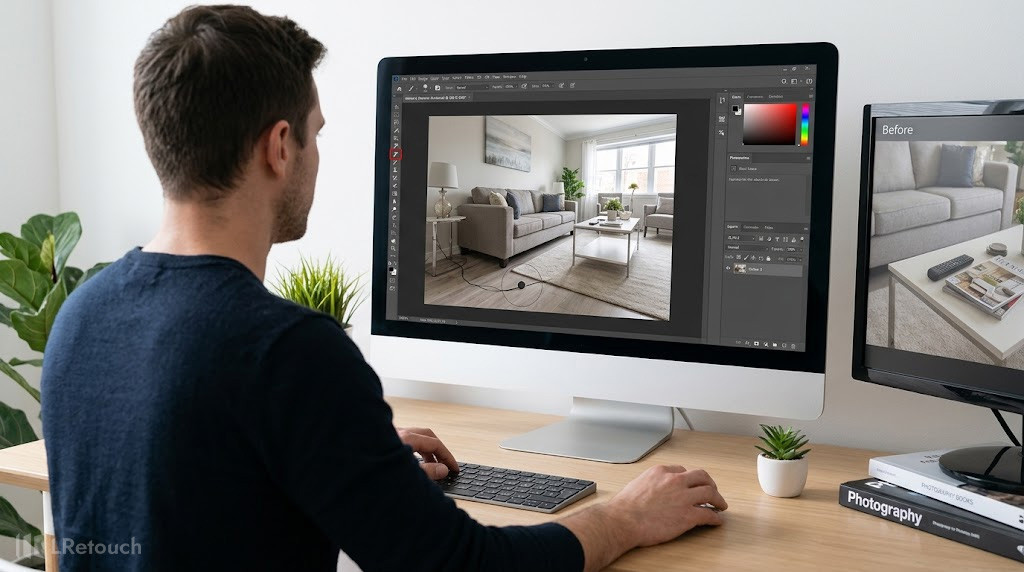
A professional editor cleaning distractions from a property image.
Tools like the Healing Brush and Clone Stamp allow photographers to clean up images quickly and seamlessly. These small corrections help rooms appear cleaner, more spacious, and more attractive to potential buyers.
Sky Replacement
Another valuable real estate photography tip is using realistic sky replacement for exterior photos. Gray or overcast skies can make a property look dull and less inviting online. Replacing the sky with a natural blue background can significantly improve curb appeal and thumbnail visibility.
However, moderation is essential. Overly dramatic skies or excessive photo retouching can make listing images appear unrealistic or misleading. Professional editors focus on creating balanced enhancements that improve the property’s appearance while keeping the final result believable.
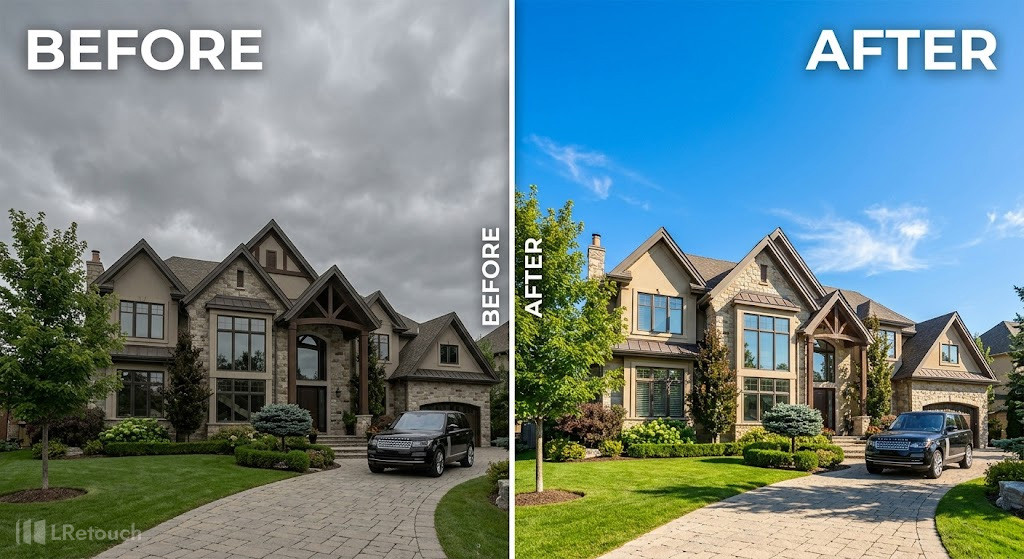
An exterior property photo improved with natural-looking sky replacement.
In conclusion
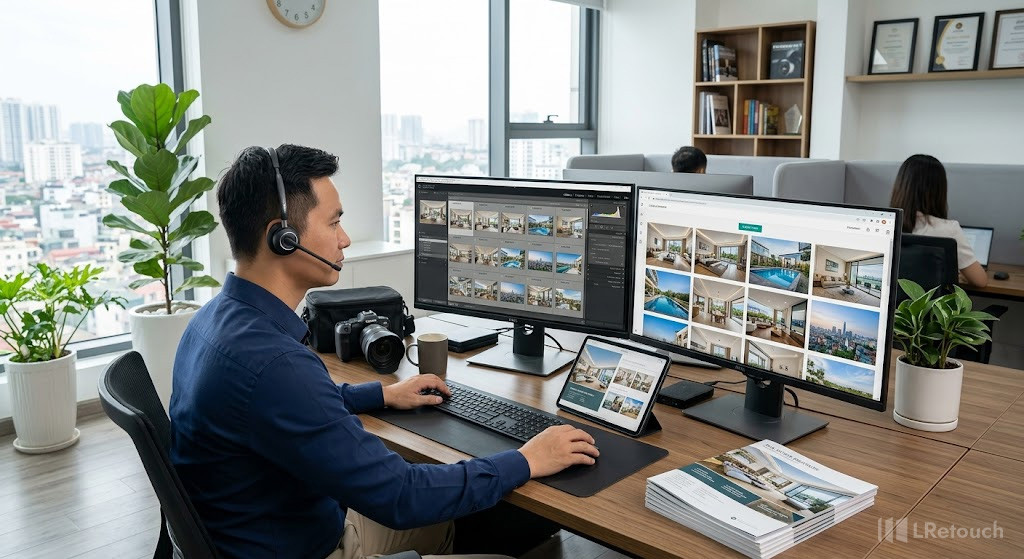
A photographer preparing final edited property images for client delivery.
A streamlined editing process helps photographers deliver brighter, cleaner, and more professional property images while saving valuable time. From HDR blending and geometry correction to advanced retouching and sky replacement, every step contributes to a stronger listing presentation and better buyer engagement. Building a consistent system also improves turnaround speed, branding, and client satisfaction. Mastering a professional real estate photo editing workflow is essential for producing high-quality real estate images efficiently.

A real estate photographer delivering high-quality edited property photos to clients.