Real estate photography for beginners can seem overwhelming, but the right techniques and tools make it easy to capture professional-looking property photos. In this guide, you’ll learn essential tips for lighting, camera settings, composition, and editing to create stunning real estate images that attract buyers faster.
Essential equipment and Set up
For anyone starting with real estate photography for beginners, having the right equipment and setup is essential for creating bright, professional-looking property images.
The good news is that you don’t need the most expensive gear to produce high-quality results.
With the right camera, tripod, and flash setup, beginner property photography can look polished and market-ready.
Camera & Wide-Angle Lens
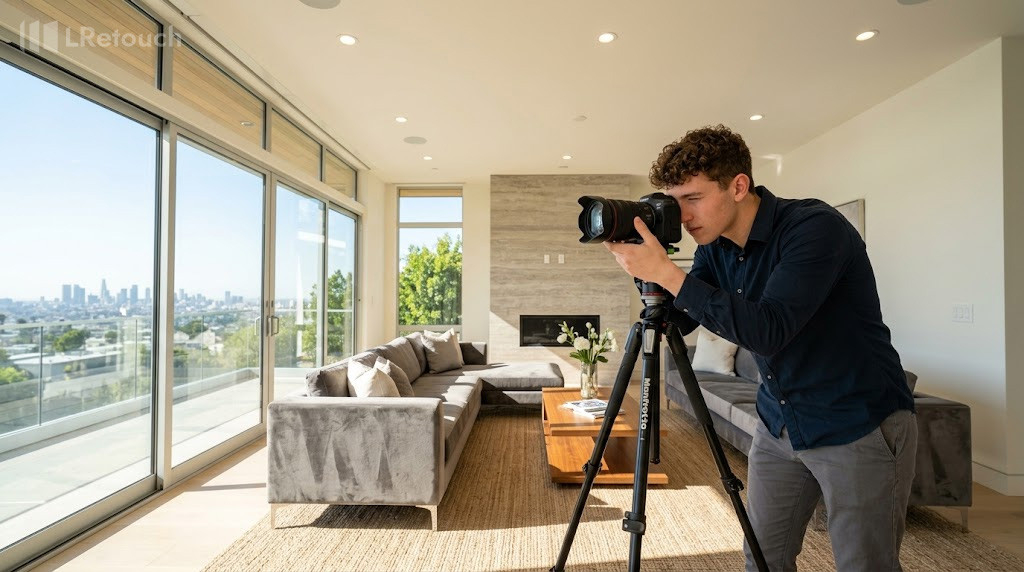
For real estate photography for beginners, a DSLR or mirrorless camera combined with a wide-angle lens is the most important investment. Lenses between 10mm and 24mm help capture entire rooms and make spaces appear larger, brighter, and more inviting. This setup is ideal for creating professional-quality images in beginner property photography.
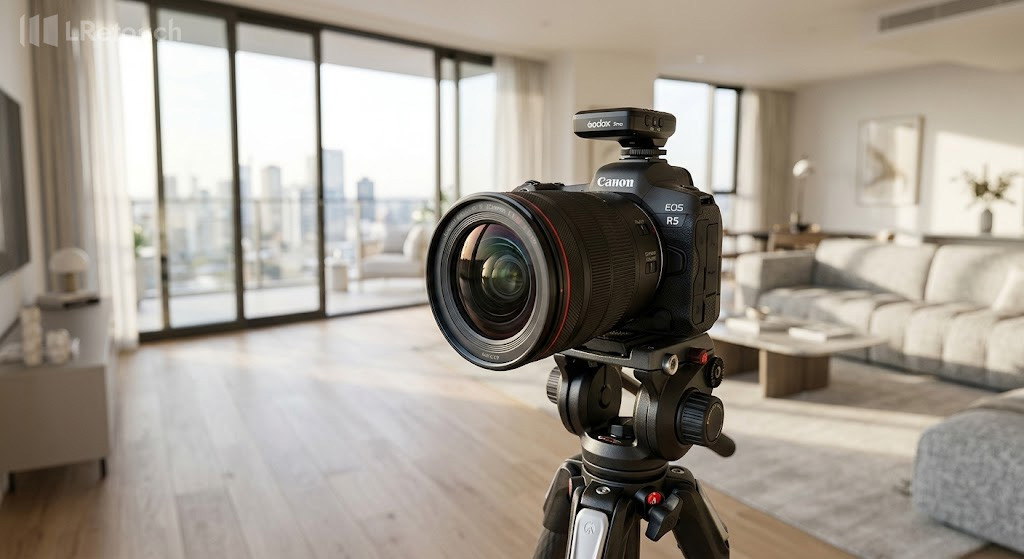
A DSLR camera equipped with a wide-angle lens is set up to photograph a modern apartment interior with bright natural lighting.
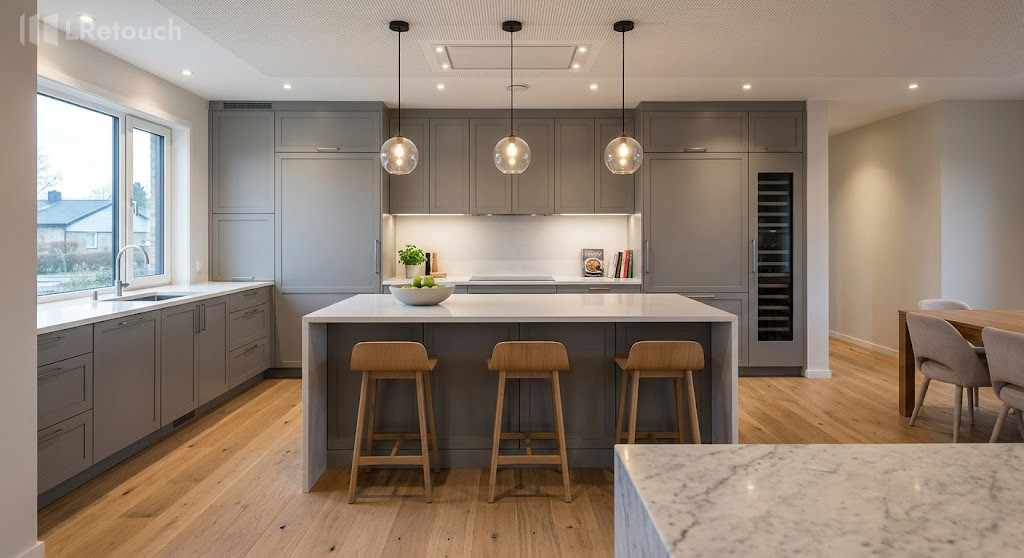
Tripod for Stable Shots
A sturdy tripod helps produce sharp, level, and consistent images, especially in low-light interiors. Many professional real estate photography tips recommend using a tripod to avoid blurry photos and maintain straight vertical lines when photographing rooms and hallways.
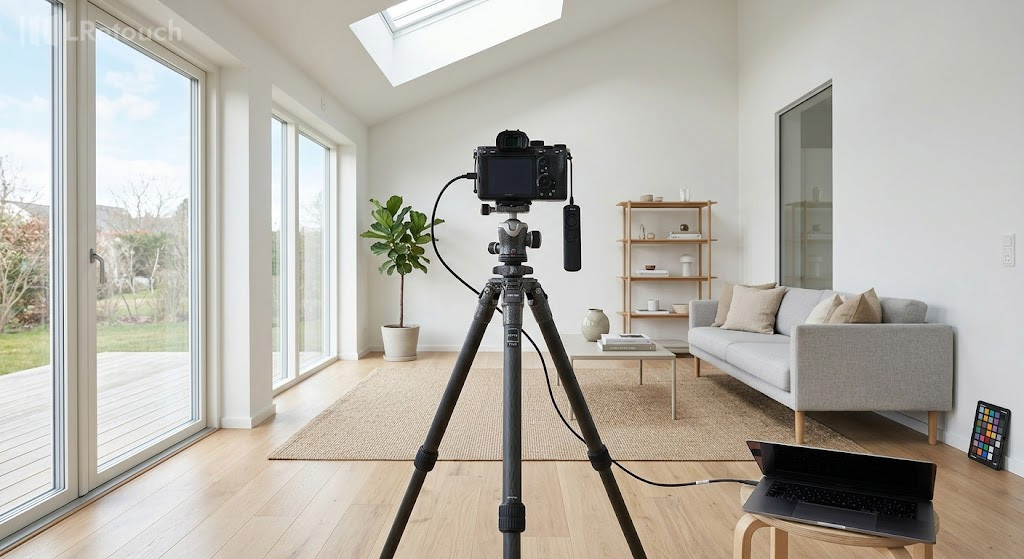
A professional tripod setup helps create sharp and level interior property photos inside a bright Scandinavian-style living room.
Flash or Speedlight
An external flash or speedlight improves indoor lighting by reducing harsh shadows and brightening dark areas. For real estate photography for beginners, learning how to use flash effectively can make listing photos look more natural, clean, and appealing to potential buyers.
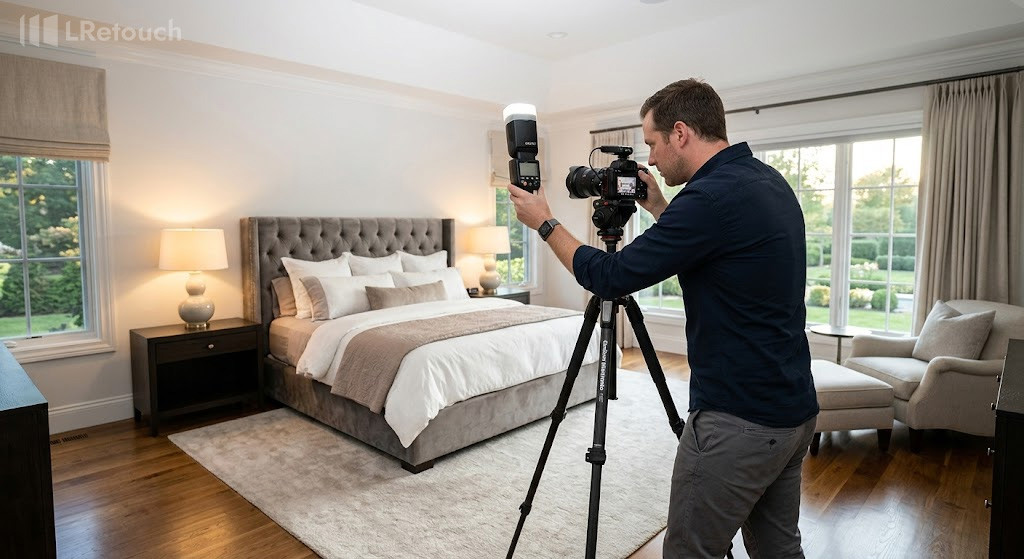
A real estate photographer uses an external flash to improve indoor lighting and reduce shadows in a luxury bedroom.
Key shooting techniques
Mastering the right techniques is essential for capturing professional-looking property photos.
These key strategies for shooting interiors will help improve lighting, composition, and overall image quality while making your real estate listings more visually appealing.
Keep Vertical Lines Straight
One of the most important techniques in shooting interiors is maintaining perfectly straight vertical lines. Crooked walls, tilted door frames, and leaning windows can make property photos look distorted and unprofessional.
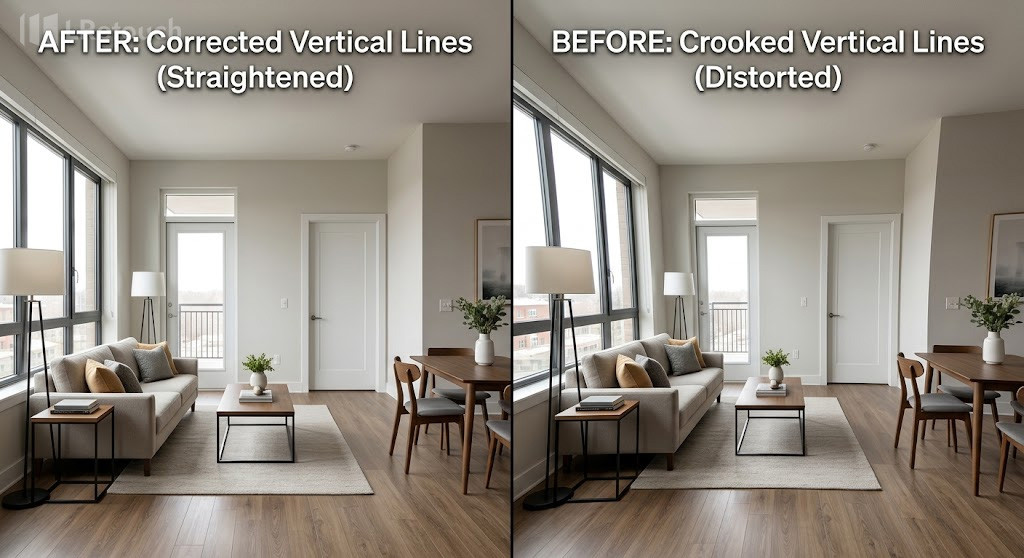
A comparison showing how straight vertical lines improve the professional appearance of interior real estate photos.
Use your camera’s built-in grid lines or perspective correction tools to keep walls and architectural features aligned properly. These real estate camera tips help create cleaner and more realistic images.
Set the Correct Camera Height
Camera height has a major impact on room balance and perspective. For most interior spaces, position the camera around chest or waist level rather than shooting at eye level.
This technique creates a natural balance between the floor and ceiling while making rooms appear more proportional. Proper camera placement is essential for successful photo composition in real estate photography.
A camera placed at waist height creates balanced room proportions and natural perspective in interior photography.
Use Two-Wall Composition for Depth
Instead of photographing directly against one wall, aim to capture two walls in the frame whenever possible. Corner-to-corner compositions add depth and dimension, making rooms feel larger and more inviting.
This approach is widely recommended in professional shooting interiors because it helps buyers better understand the property’s layout.
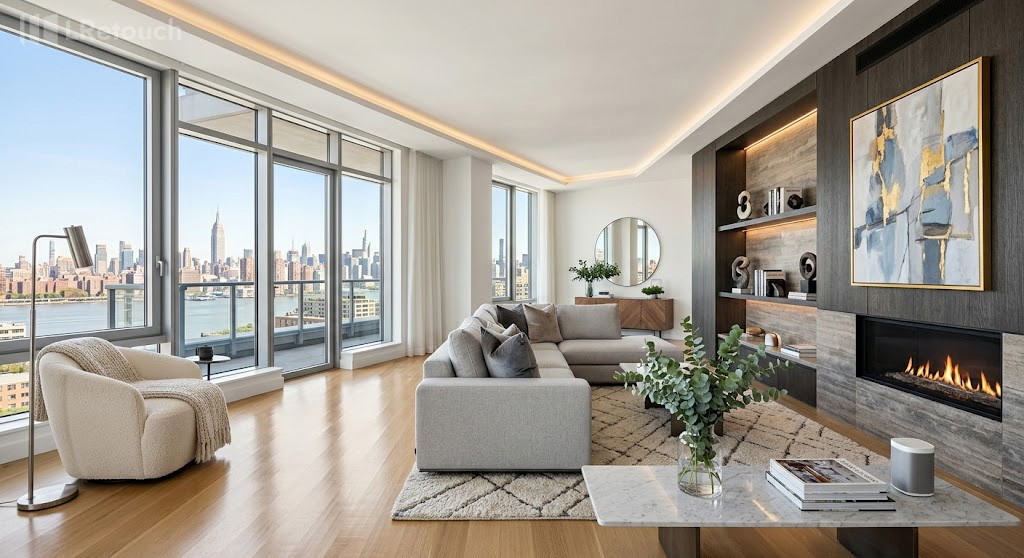
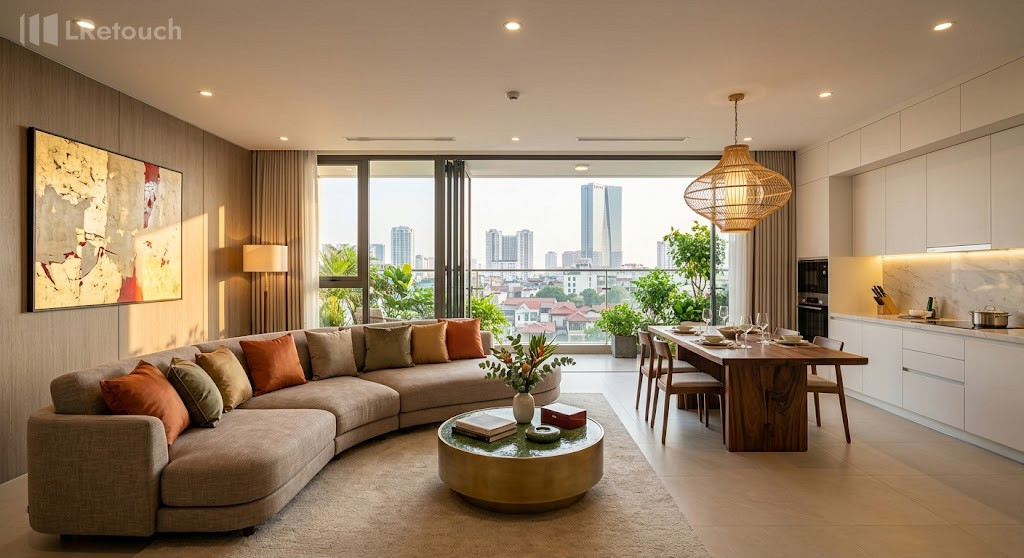
A wide-angle corner composition captures two walls to create depth and make the living room appear larger.
Apply Exposure Bracketing (HDR)
Interior spaces often contain bright windows and darker corners, making exposure challenging. A useful technique is HDR exposure bracketing, where you take three photos: one normal exposure, one brighter shot, and one darker shot.
These images can later be blended to preserve both indoor details and outdoor window views. Among the best real estate camera tips, HDR photography significantly improves image quality.
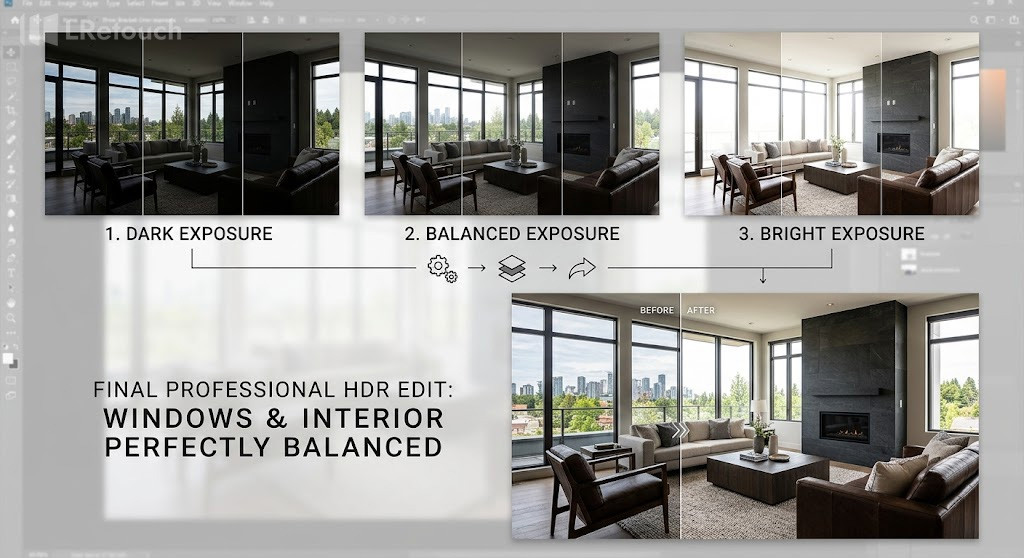
Multiple exposure levels are combined using HDR techniques to preserve interior details and outdoor window views.
Optimize Lighting Before Shooting
Lighting preparation is critical for high-quality interior photography. Before taking photos, turn on all interior lights and open blinds or curtains to maximize natural light.
Balanced lighting creates brighter, warmer, and more welcoming property images. A strong lighting setup, combined with effective photo composition and real estate techniques, helps listings stand out online.
A bright living room with open curtains and balanced lighting creates a warm and welcoming property image.
Workflow and Tips of real estate photography for beginners
A smooth workflow is essential for mastering photography basics and creating professional property images.
Start by preparing each room carefully by decluttering spaces, turning on lights, and opening curtains before shooting.
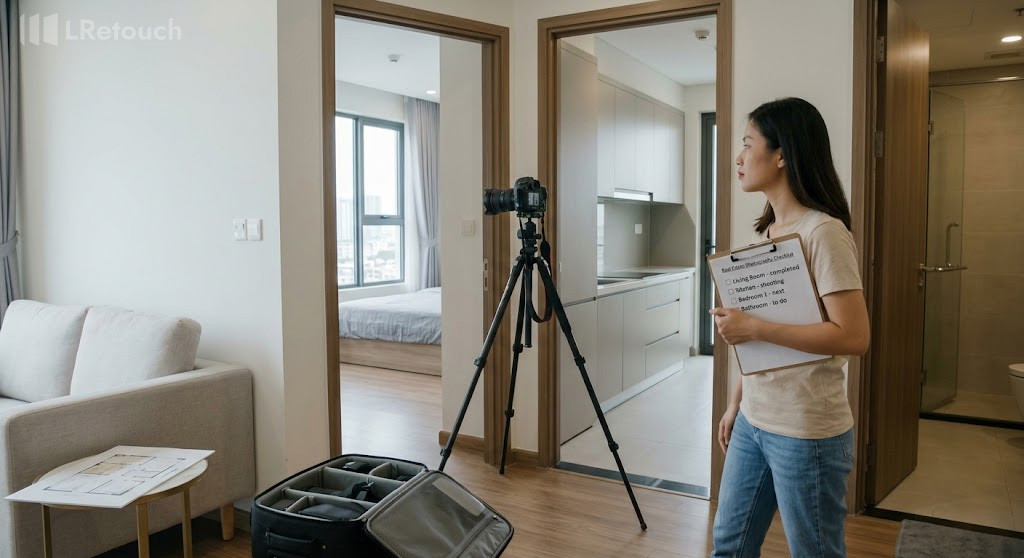
A beginner photographer follows a systematic workflow while capturing multiple rooms inside a modern property.
Capture multiple angles of every room to highlight layout and depth, while keeping your shooting process systematic by moving room-to-room in a consistent order.
The best time for interior photography is usually between 10 AM and 2 PM, when natural light is bright and even, while exterior shots often look best during golden hour near sunset.
After shooting, use real estate photo enhancement tools to improve brightness, colors, and overall image quality for polished listing photos.
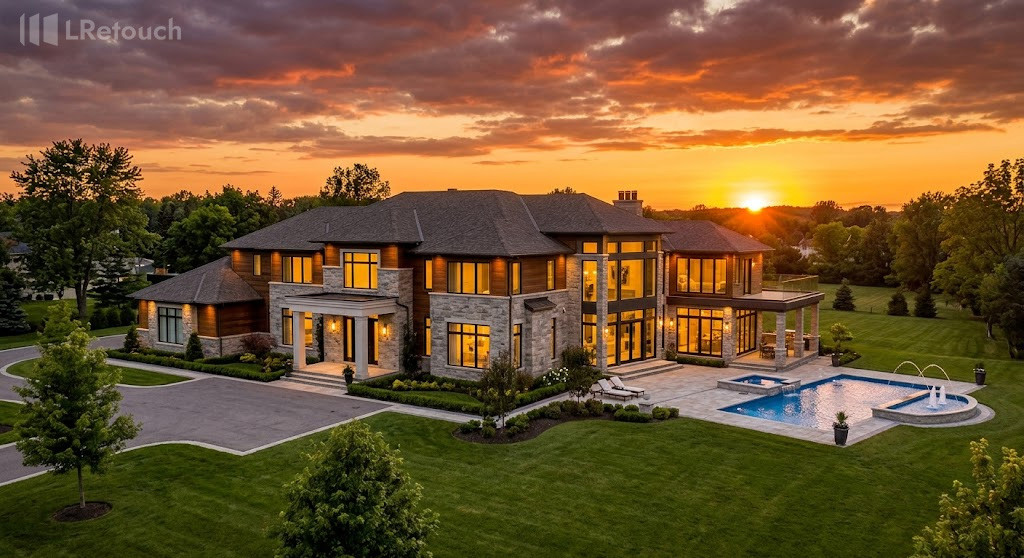
A luxury property exterior photographed during sunset with warm golden lighting and cinematic sky details.
How to edit real estate photos?
Effective real estate photo editing helps transform raw property images into bright, professional-looking listing photos. For real estate photography for beginners, a simple editing workflow can greatly improve image quality and attract more potential buyers.
- Adjust Brightness and Exposure
Increase brightness and balance exposure to make rooms look clean, natural, and welcoming without overexposing windows.
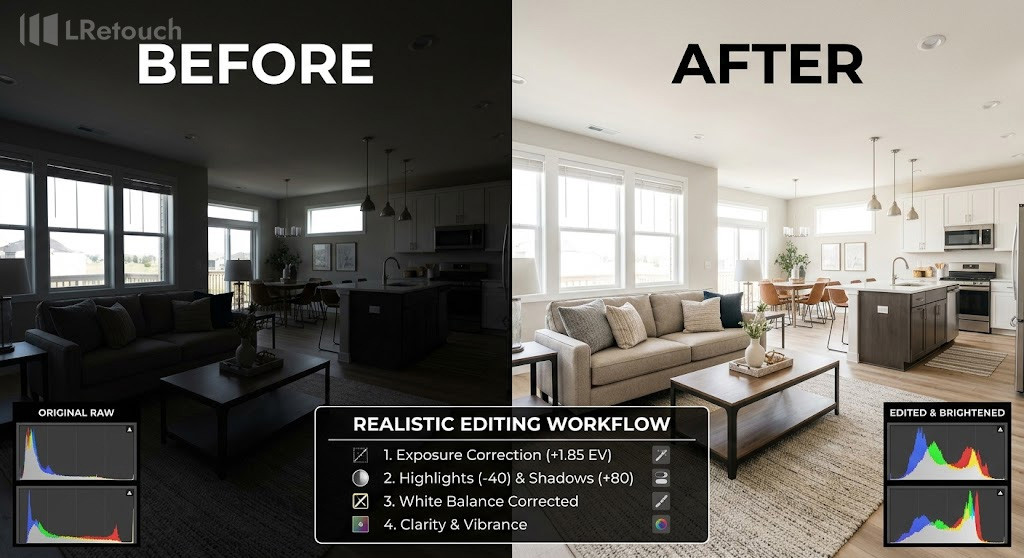
A before-and-after comparison demonstrates how exposure adjustments improve dark interior property photos.
- Correct White Balance and Colors
Fix color temperature to remove yellow or blue tones caused by indoor lighting. Accurate colors make interiors appear more realistic.
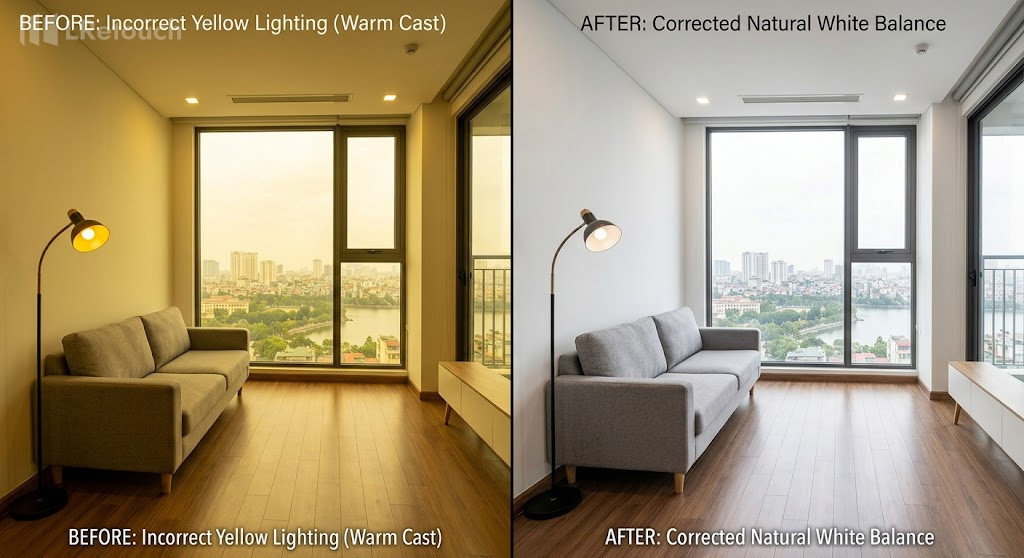
Correct white balance removes unnatural yellow tones and creates realistic interior colors.
- Straighten Vertical Lines
Correct tilted walls, windows, and door frames using perspective tools. Straight verticals are essential in professional real estate photo editing.
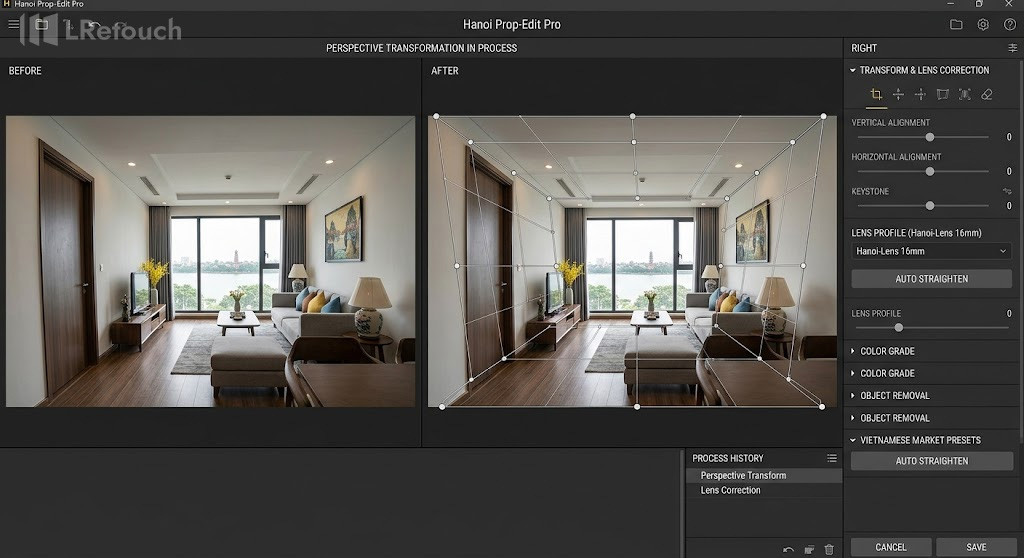
Perspective correction tools are used to straighten tilted walls and windows in property photography.
- Enhance Details and Sharpness
Slightly increase clarity and sharpness to highlight textures, furniture, and architectural features while keeping images natural.
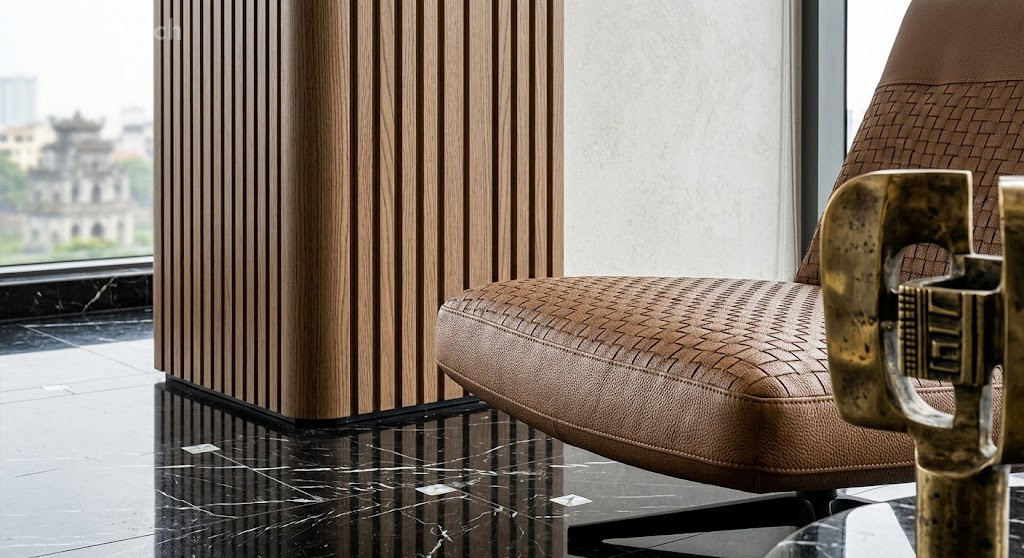
Sharpening and clarity adjustments improve textures, furniture details, and architectural features in interior photos.
- Use Sky Replacement or HDR Blending
Replace dull skies or blend bracketed exposures to improve both interior details and exterior window views. These techniques are especially useful in real estate photography for beginners.
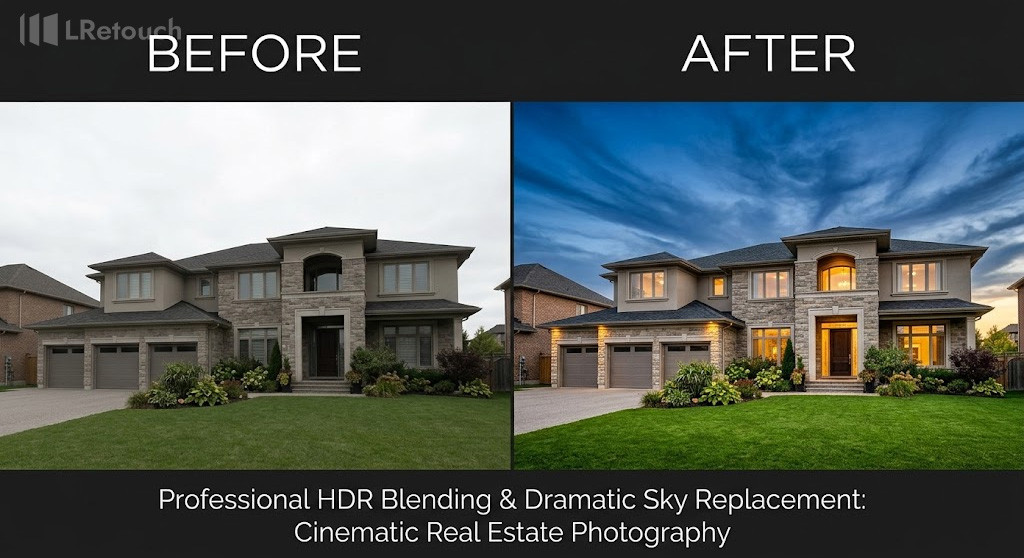
Sky replacement and HDR blending techniques create dramatic and visually appealing exterior property photos.
Conclusion
Mastering lighting, composition, camera settings, and editing techniques can significantly improve the quality of your property photos. With consistent practice and the right workflow, anyone can build professional skills in real estate photography for beginners.

A collage of professionally edited real estate photos showcasing interiors, exteriors, and beginner photography techniques.