Real estate photography tips can make a huge difference in creating bright, professional-looking property images that attract more buyers. In this guide, you’ll learn essential techniques for lighting, composition, camera settings, and editing to improve the quality of your real estate photos.
Professional real estate photos sell homes faster
Professional property images have a major impact on buyer interest and listing performance. High-quality visuals help real estate photos sell homes faster by creating stronger first impressions and increasing online engagement. According to industry statistics, listings with more than 20 professional photos spend 32 fewer days on the market and receive 61% more listing views. Homes with professional photography also achieve an average sale price increase of 9%.
These numbers show why professional photography is one of the most effective marketing tools in real estate. Buyers often decide whether to explore a property further within seconds of viewing listing photos. Bright, sharp, and well-composed images make homes appear more attractive, spacious, and valuable.
Investing in professional real estate photography not only attracts more buyers but can also increase client satisfaction and accelerate property sales.
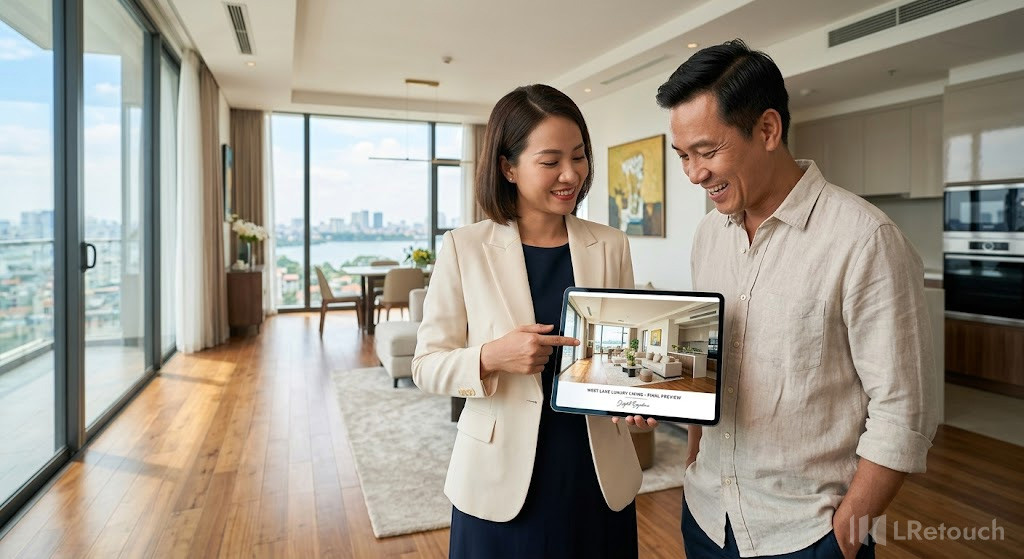
A commercial-style photograph highlighting how high-quality, professional real estate photography increases client satisfaction and drives faster property sales.
Best Real Estate Photography Tips
Mastering the right real estate photography tips can dramatically improve the quality of your property listings and attract more potential buyers.
This property photography guide covers essential techniques for lighting, composition, camera settings, and editing to help you capture professional-looking real estate images.
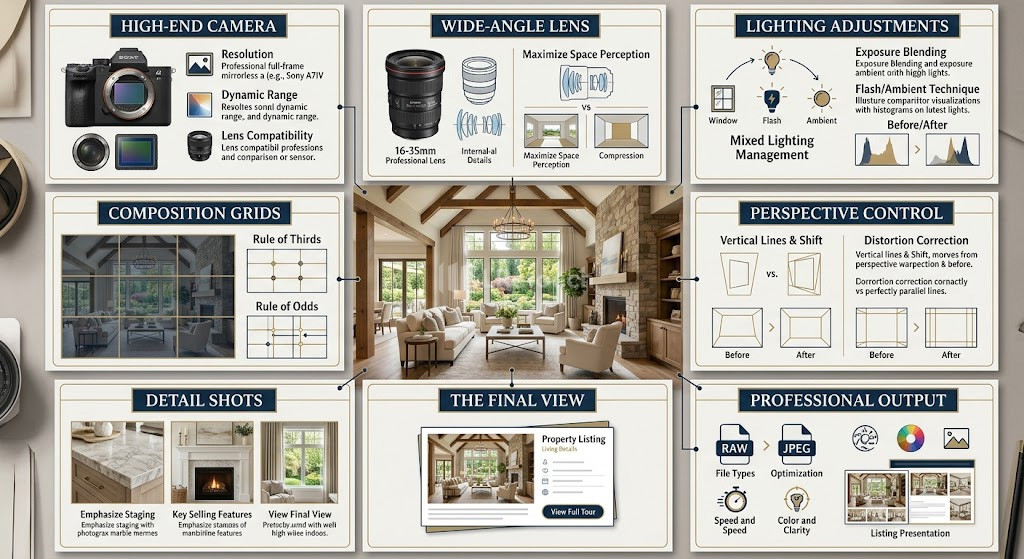
A conceptual header image representing the essential elements of real estate photography, including gear, lighting, and composition.
Tip #1: Choose the best time of day to shoot
Timing plays a major role in the quality of shooting house photos. Natural lighting changes throughout the day, directly affecting brightness, shadows, window exposure, and overall image appearance.
Most professional real estate photographers prefer shooting interiors between 10 AM and 2 PM because sunlight is more balanced and evenly distributed indoors.
For exterior photography, the “golden hour” shortly after sunrise or before sunset often produces the most attractive results. Warm sunlight creates softer shadows and adds a welcoming atmosphere to the property.
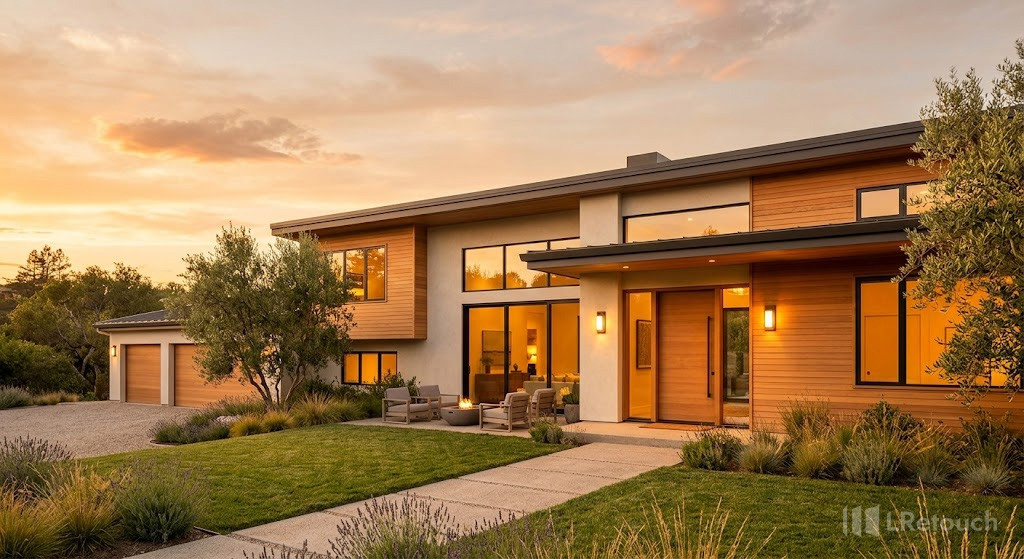
Exterior property photography utilizing optimal natural timing and soft golden hour light to maximize curb appeal and buyer engagement.
For example, a front exterior photographed at 6 PM during sunset typically appears more inviting than the same home photographed at noon under harsh overhead light.
Lighting quality also impacts buyer engagement. Studies show that listings with bright, professional-looking photos receive significantly more online views and buyer inquiries. Choosing the correct time for shooting house photos helps reduce editing time while improving the overall professionalism and market appeal of the listing.
Tip #2:
indoor and outdoor light
One of the most important real estate lighting tips is balancing interior brightness with outdoor window exposure. Without proper lighting control, rooms may appear too dark while windows become completely overexposed. To make real estate photos brighter, photographers often use HDR bracketing, flash blending, or natural light balancing techniques.
For example, taking multiple exposures of a living room allows photographers to preserve both indoor details and outdoor scenery through the windows. Open curtains, turn on all interior lights, and avoid shooting directly into harsh sunlight whenever possible.
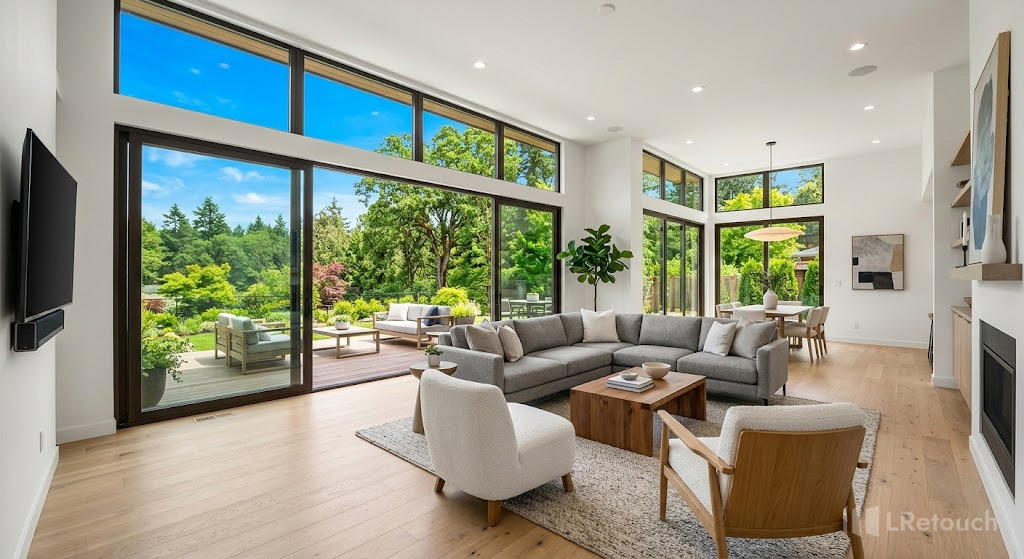
Successful execution of light balancing techniques, avoiding dark indoor corners and overexposed, blown-out windows.
Bright, balanced images create a more inviting atmosphere and can significantly improve buyer engagement, since professionally lit listings often receive more online views and inquiries than poorly exposed photos.
Tip #3: Get the right camera position
Correct camera positioning is essential for capturing realistic room dimensions and professional-looking property photos.
One of the most effective real estate photography tips is placing the camera about 4–5 feet above the floor to create a balanced perspective between the ceiling and flooring. This height helps rooms appear natural and spacious without distortion.
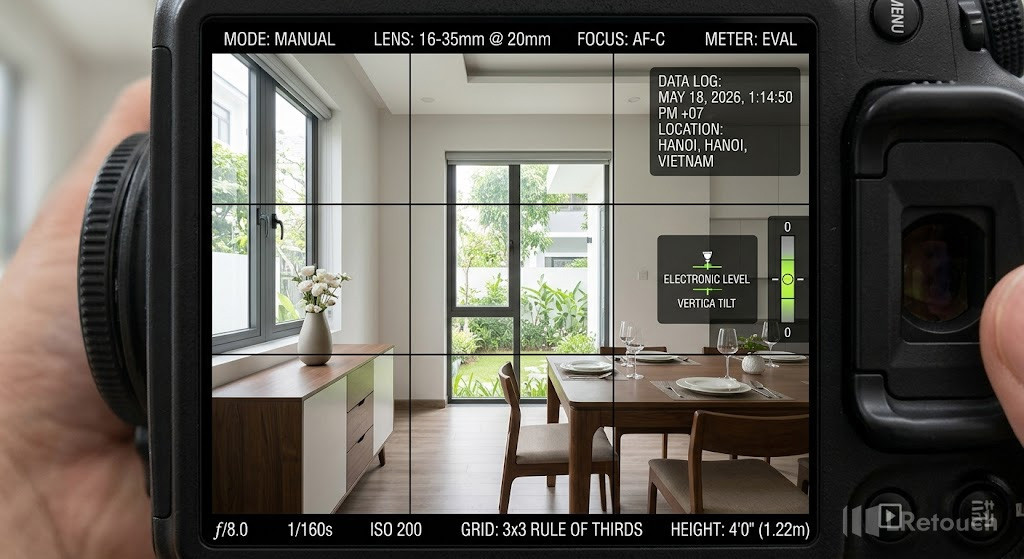
Maintaining a level camera position at chest height to prevent wide-angle distortion and capture realistic room dimensions.
Using proper camera settings real estate photographers rely on, such as wide-angle lenses between 16mm and 24mm, also improves room visibility. However, photographers should keep the camera perfectly level to avoid slanted walls and distorted vertical lines.
Important room features like kitchen islands, fireplaces, or window views should be positioned near grid intersections using the rule of thirds for stronger composition.
For example, slightly raising the camera height in kitchens can better showcase countertops, while lowering it slightly in dining rooms creates a more inviting perspective. Activating the camera grid display also helps align walls, furniture, and architectural details more accurately for cleaner compositions.
Tip #4: Use good camera gear
Using quality camera equipment can significantly improve real estate photo quality and buyer engagement. Professional photographers typically use DSLR or mirrorless cameras with wide-angle lenses between 16mm and 24mm to capture full room layouts clearly. A sturdy tripod is also essential for sharp images and balanced HDR exposures.
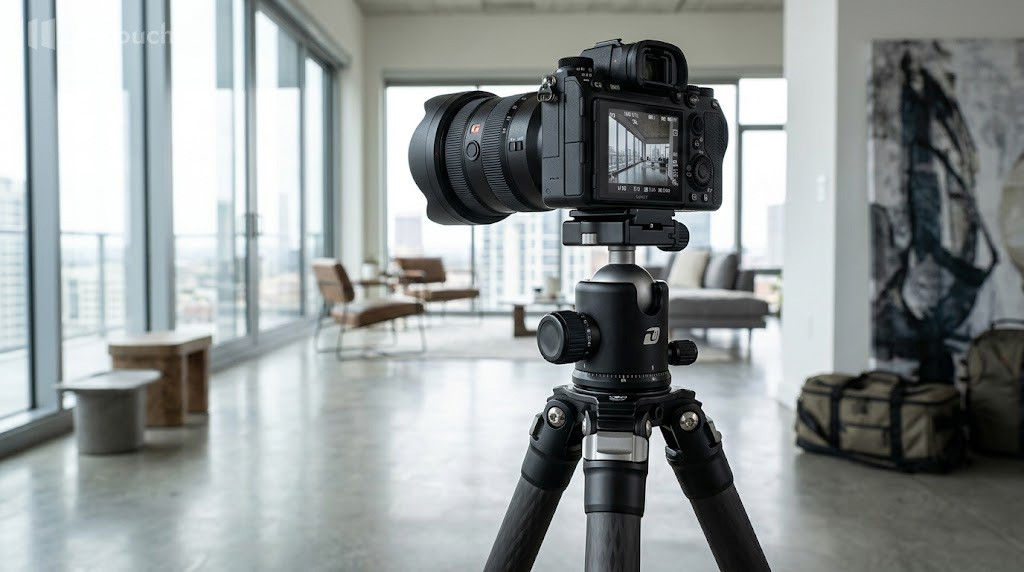
The essential camera equipment bundle required to sharp, steady, and expansive interior photographs for property listings.
Studies show that listings with professional-quality photos receive up to 60% more online views than low-quality images. For example, using a wide-angle lens in a small living room can make the space appear larger, brighter, and more inviting to potential buyers.
Tip #5: Use a Flash
Using an external flash is one of the most effective real estate photography tips for improving indoor image quality. Flash helps brighten dark corners, reduce harsh shadows, and balance lighting between interior spaces and bright windows.
Unlike relying only on natural light, a properly diffused flash creates cleaner and more evenly exposed property photos.
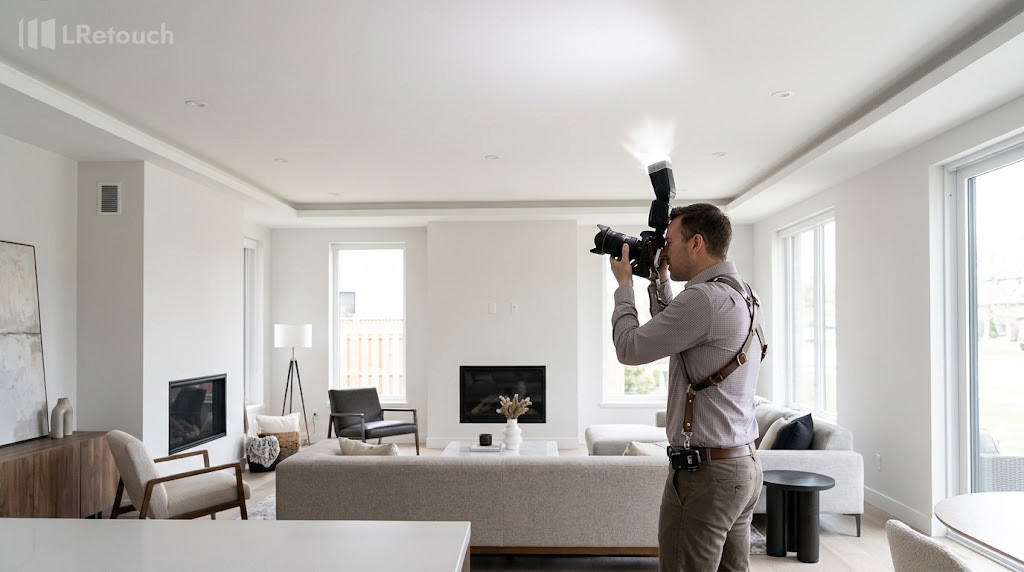
Using a diffused external flash to eliminate harsh shadows, brighten dark corners, and create clean, professional indoor lighting.
For example, bouncing a flash off the ceiling in a living room can produce softer, more natural lighting while preserving room details.
Studies show that bright, professionally lit listing photos attract significantly more buyer attention and online engagement than poorly lit images. Combining flash with HDR techniques can further improve image clarity and overall property presentation.
Tip #6: Reorganize a home
Decluttering and reorganizing a property before shooting can dramatically improve visual appeal and create better listing photos. Clean, organized spaces help rooms appear larger, brighter, and more inviting to potential buyers. Studies show that staged or well-prepared homes often sell faster and receive higher buyer interest than cluttered listings.
For example, removing personal items, excess furniture, and visible cords from a living room can instantly create a cleaner and more spacious appearance.
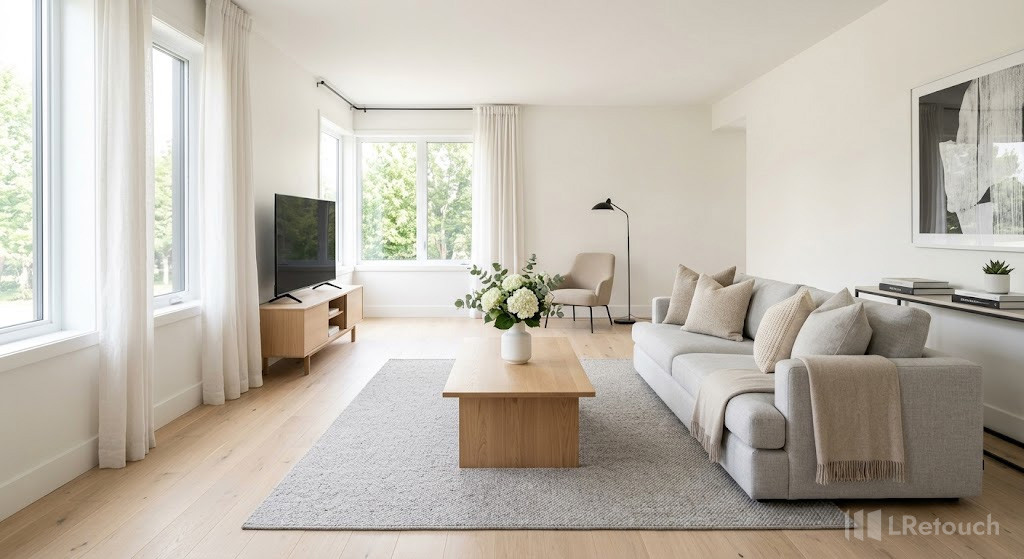
The impact of home staging and reorganization, creating a clean, spacious, and highly professional property presentation that attracts buyers.
Simple adjustments like arranging pillows, adding fresh flowers, or clearing kitchen countertops can make listing photos look significantly more professional.
Wrap up
By mastering lighting, composition, camera positioning, and editing techniques, photographers can create more attractive and professional property listings. Applying these real estate photography tips consistently can help increase buyer engagement, improve listing performance, and make homes stand out in a competitive market.