Improve listing photos for real estate quickly with simple lighting, staging, and editing techniques that boost buyer interest and clicks. High-quality visuals help your property stand out in crowded listings and create a stronger first impression. With a few fast adjustments, you can turn average photos into compelling images that drive faster inquiries and sales. Let’s explore 4 proven ways below.
Improve listing photos with AI editing tools
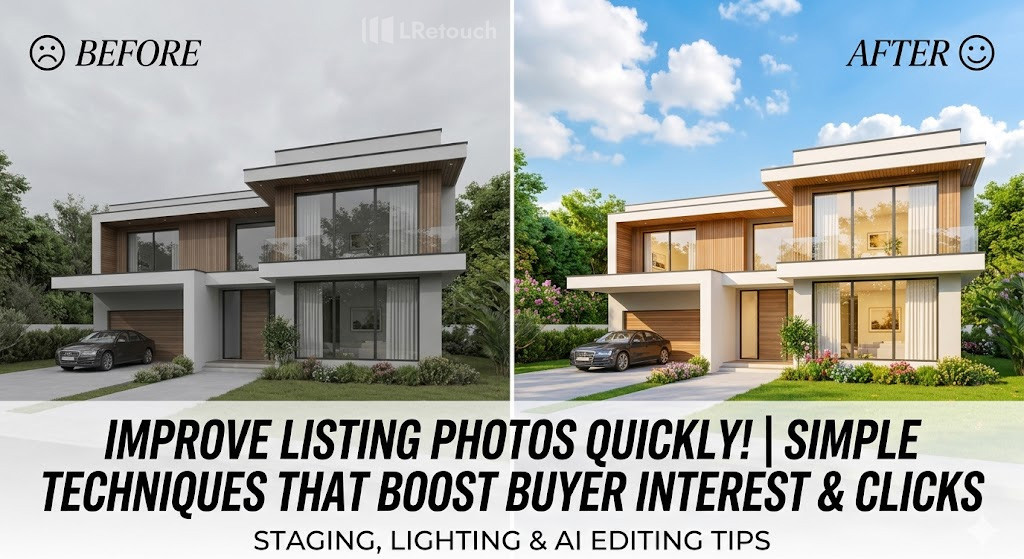
Improving listing photos with AI editing tools is one of the fastest ways to elevate your real estate marketing without hiring a professional editor. Modern AI solutions can automatically correct lighting, enhance colors, and even replace dull skies, helping you optimize real estate photos in just minutes.
For agents and property owners looking for practical real estate editing tips, these tools streamline the workflow while maintaining a polished, professional look.
AI-powered editing is especially useful when you need consistent results across multiple listings. Instead of manually adjusting each image, you can apply smart enhancements that instantly improve brightness, contrast, and composition.
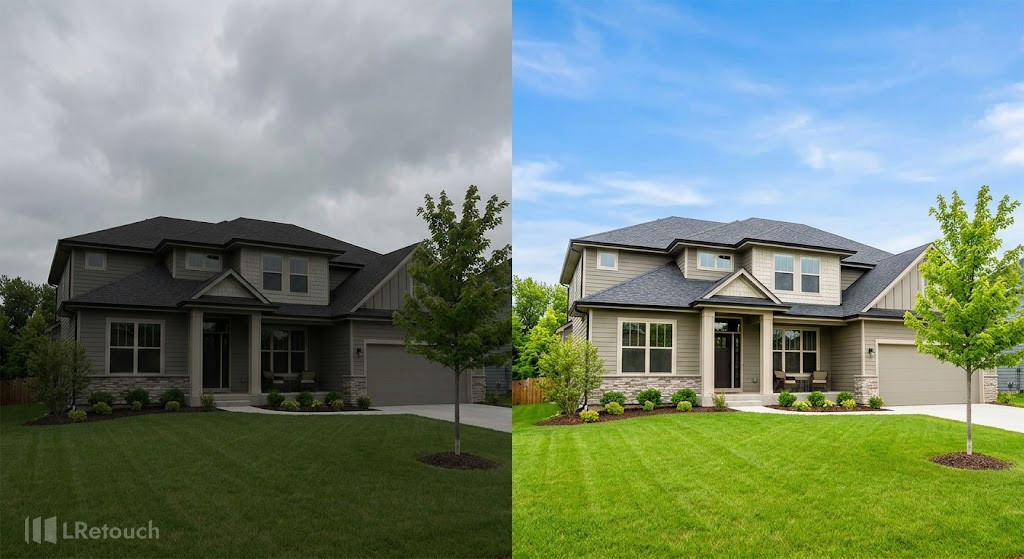
A visual demonstration of how modern AI editing tools can instantly replace gloomy skies and correct lighting to make a property listing look highly professional.
This not only saves time but also ensures your visuals meet the expectations of today’s buyers, who often make decisions based on photos alone.
Here are three AI editing tools worth using:
| Auto HDR |
|
| Fotello |
|
| Autoenhance.ai |
|
By incorporating these tools into your workflow, you can quickly transform ordinary images into high-impact visuals that attract more clicks and inquiries. The key is to use AI as a support system, enhancing clarity and appeal while keeping photos realistic and trustworthy.
Fast “Pre-shot” preparation
To improve listing photos quickly, focus on fast “pre-shot” preparation before you even start shooting. These simple steps reduce the need for heavy fast photo editing later and ensure your images look clean, bright, and professional from the start.
Begin by maximizing light. Open all curtains, blinds, and windows, and turn on every light ( including lamps) to create a warm, spacious, and inviting atmosphere. Bright spaces naturally appear larger and more appealing to potential buyers.
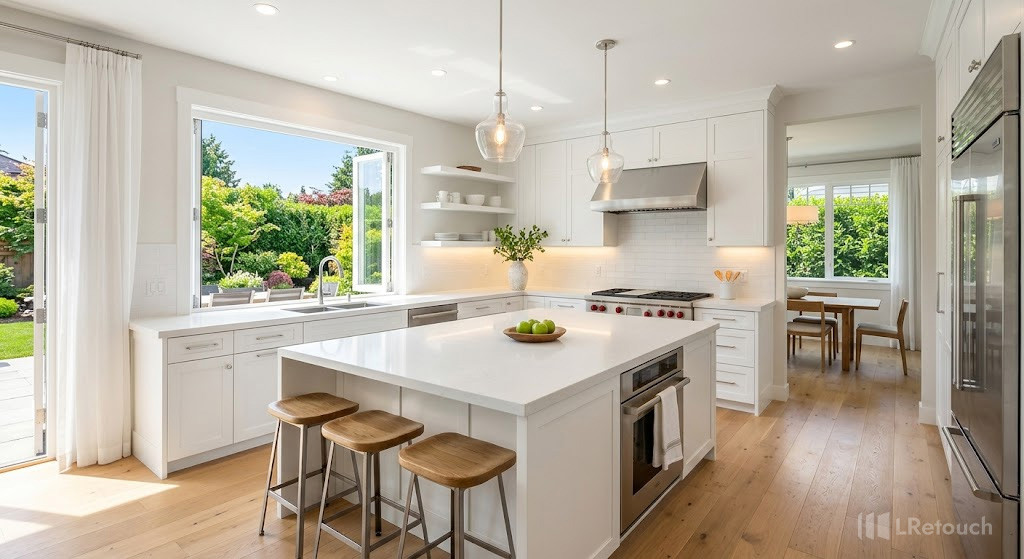
An example of fast pre-shot staging, showcasing how maximizing light and removing countertop clutter creates an inviting, hotel-like atmosphere.
Next, clear all countertops. Remove toiletries in bathrooms and small appliances in kitchens to achieve a clean, “hotel-like” look. Minimal, clutter-free surfaces help buyers focus on the space rather than distractions.
Finally, don’t overlook a small but critical detail: wipe your phone lens. Dust or smudges can cause hazy, low-quality images, even in good lighting. This quick step ensures sharper, clearer photos instantly.
With these fast preparation techniques, you can significantly enhance image quality before editing even begins.
Fast photo editing with quick shooting techniques
To improve listing photos quickly, applying smart shooting techniques is just as important as editing. With the right approach, you can capture better listing visuals straight from your camera, reducing the need for heavy post-processing. These practical real estate photography tips help ensure your images look clean, balanced, and appealing to buyers.
Start by choosing the right angles. Shoot from chest height (around 1.2–1.5 meters) to create a natural perspective that reflects how people actually experience the space. Avoid extreme wide angles that distort rooms and make them look unrealistic.
Next, focus on keeping lines straight. Tilted verticals, like leaning walls or door frames, can make photos look unprofessional. Use your phone’s gridlines or a tripod to maintain proper alignment and symmetry.
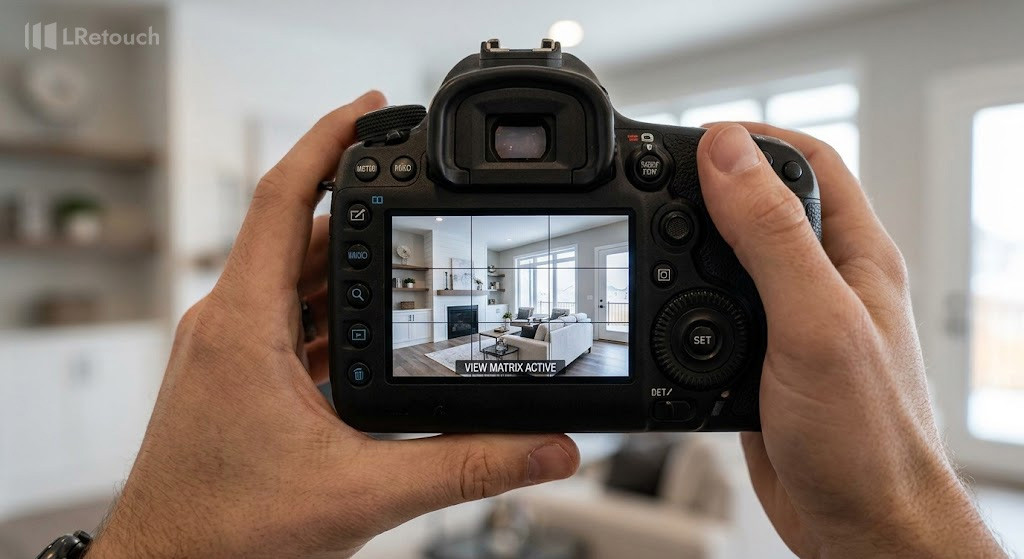
A demonstration of proper real estate shooting techniques, highlighting the importance of straight vertical lines and natural camera height to avoid room distortion.
Timing also matters. Shoot during the day when natural light is strongest, but avoid harsh midday sunlight that creates strong shadows. Early morning or late afternoon often produces softer, more flattering lighting.
Finally, take multiple shots of each room from different positions. This gives you more options to select the best composition later and ensures you highlight key features effectively.
By mastering these quick shooting techniques, you can consistently produce sharper, more attractive listing photos that capture attention and drive engagement.
Have a fast editing workflow
To improve listing photos efficiently, you also need a streamlined real estate editing workflow that minimizes time while maximizing consistency.
Start by culling your images and selecting only the strongest shots to avoid wasting time on unnecessary edits.
Next, apply batch adjustments for exposure, white balance, and contrast to create a consistent look across the entire listing.
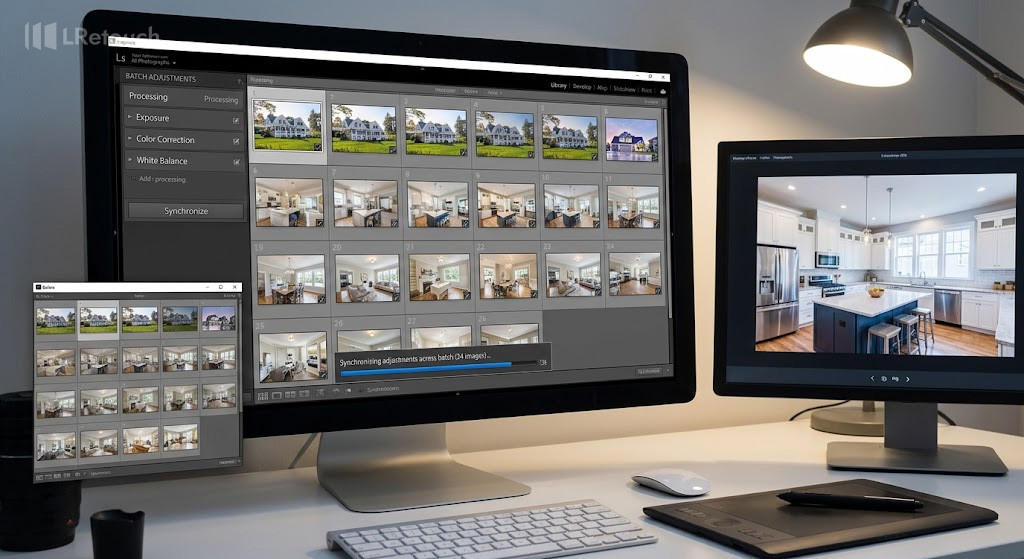
An efficient real estate post-processing workflow showing multiple listing photos being edited simultaneously using presets for a cohesive and professional visual style.
Leverage presets or AI tools to automate routine tasks like color correction, sky replacement, and brightness tuning for faster property image enhancement. This not only speeds up your process but also ensures a professional, cohesive visual style.
Finally, perform quick manual refinements on key images—such as correcting perspective or removing minor distractions—to maintain realism and accuracy.
With a fast, optimized workflow, you can consistently deliver high-quality listing photos while saving time and increasing productivity.
Key takeaway
Strong visuals drive faster decisions, and small changes can make a measurable difference in performance. By combining smart preparation, efficient shooting, and streamlined editing, you can elevate every listing without adding significant time or cost. Consistency and clarity are what turn casual viewers into serious buyers. Apply these strategies today to improve listing photos and maximize your results.